
Travel Photography with an iPhone: Capturing More Moments on the Road
When I travel, I often carry my mirrorless camera and at least 2 lenses. But some of my favorite photos weren’t taken with a full camera kit - they were captured with my iPhone.
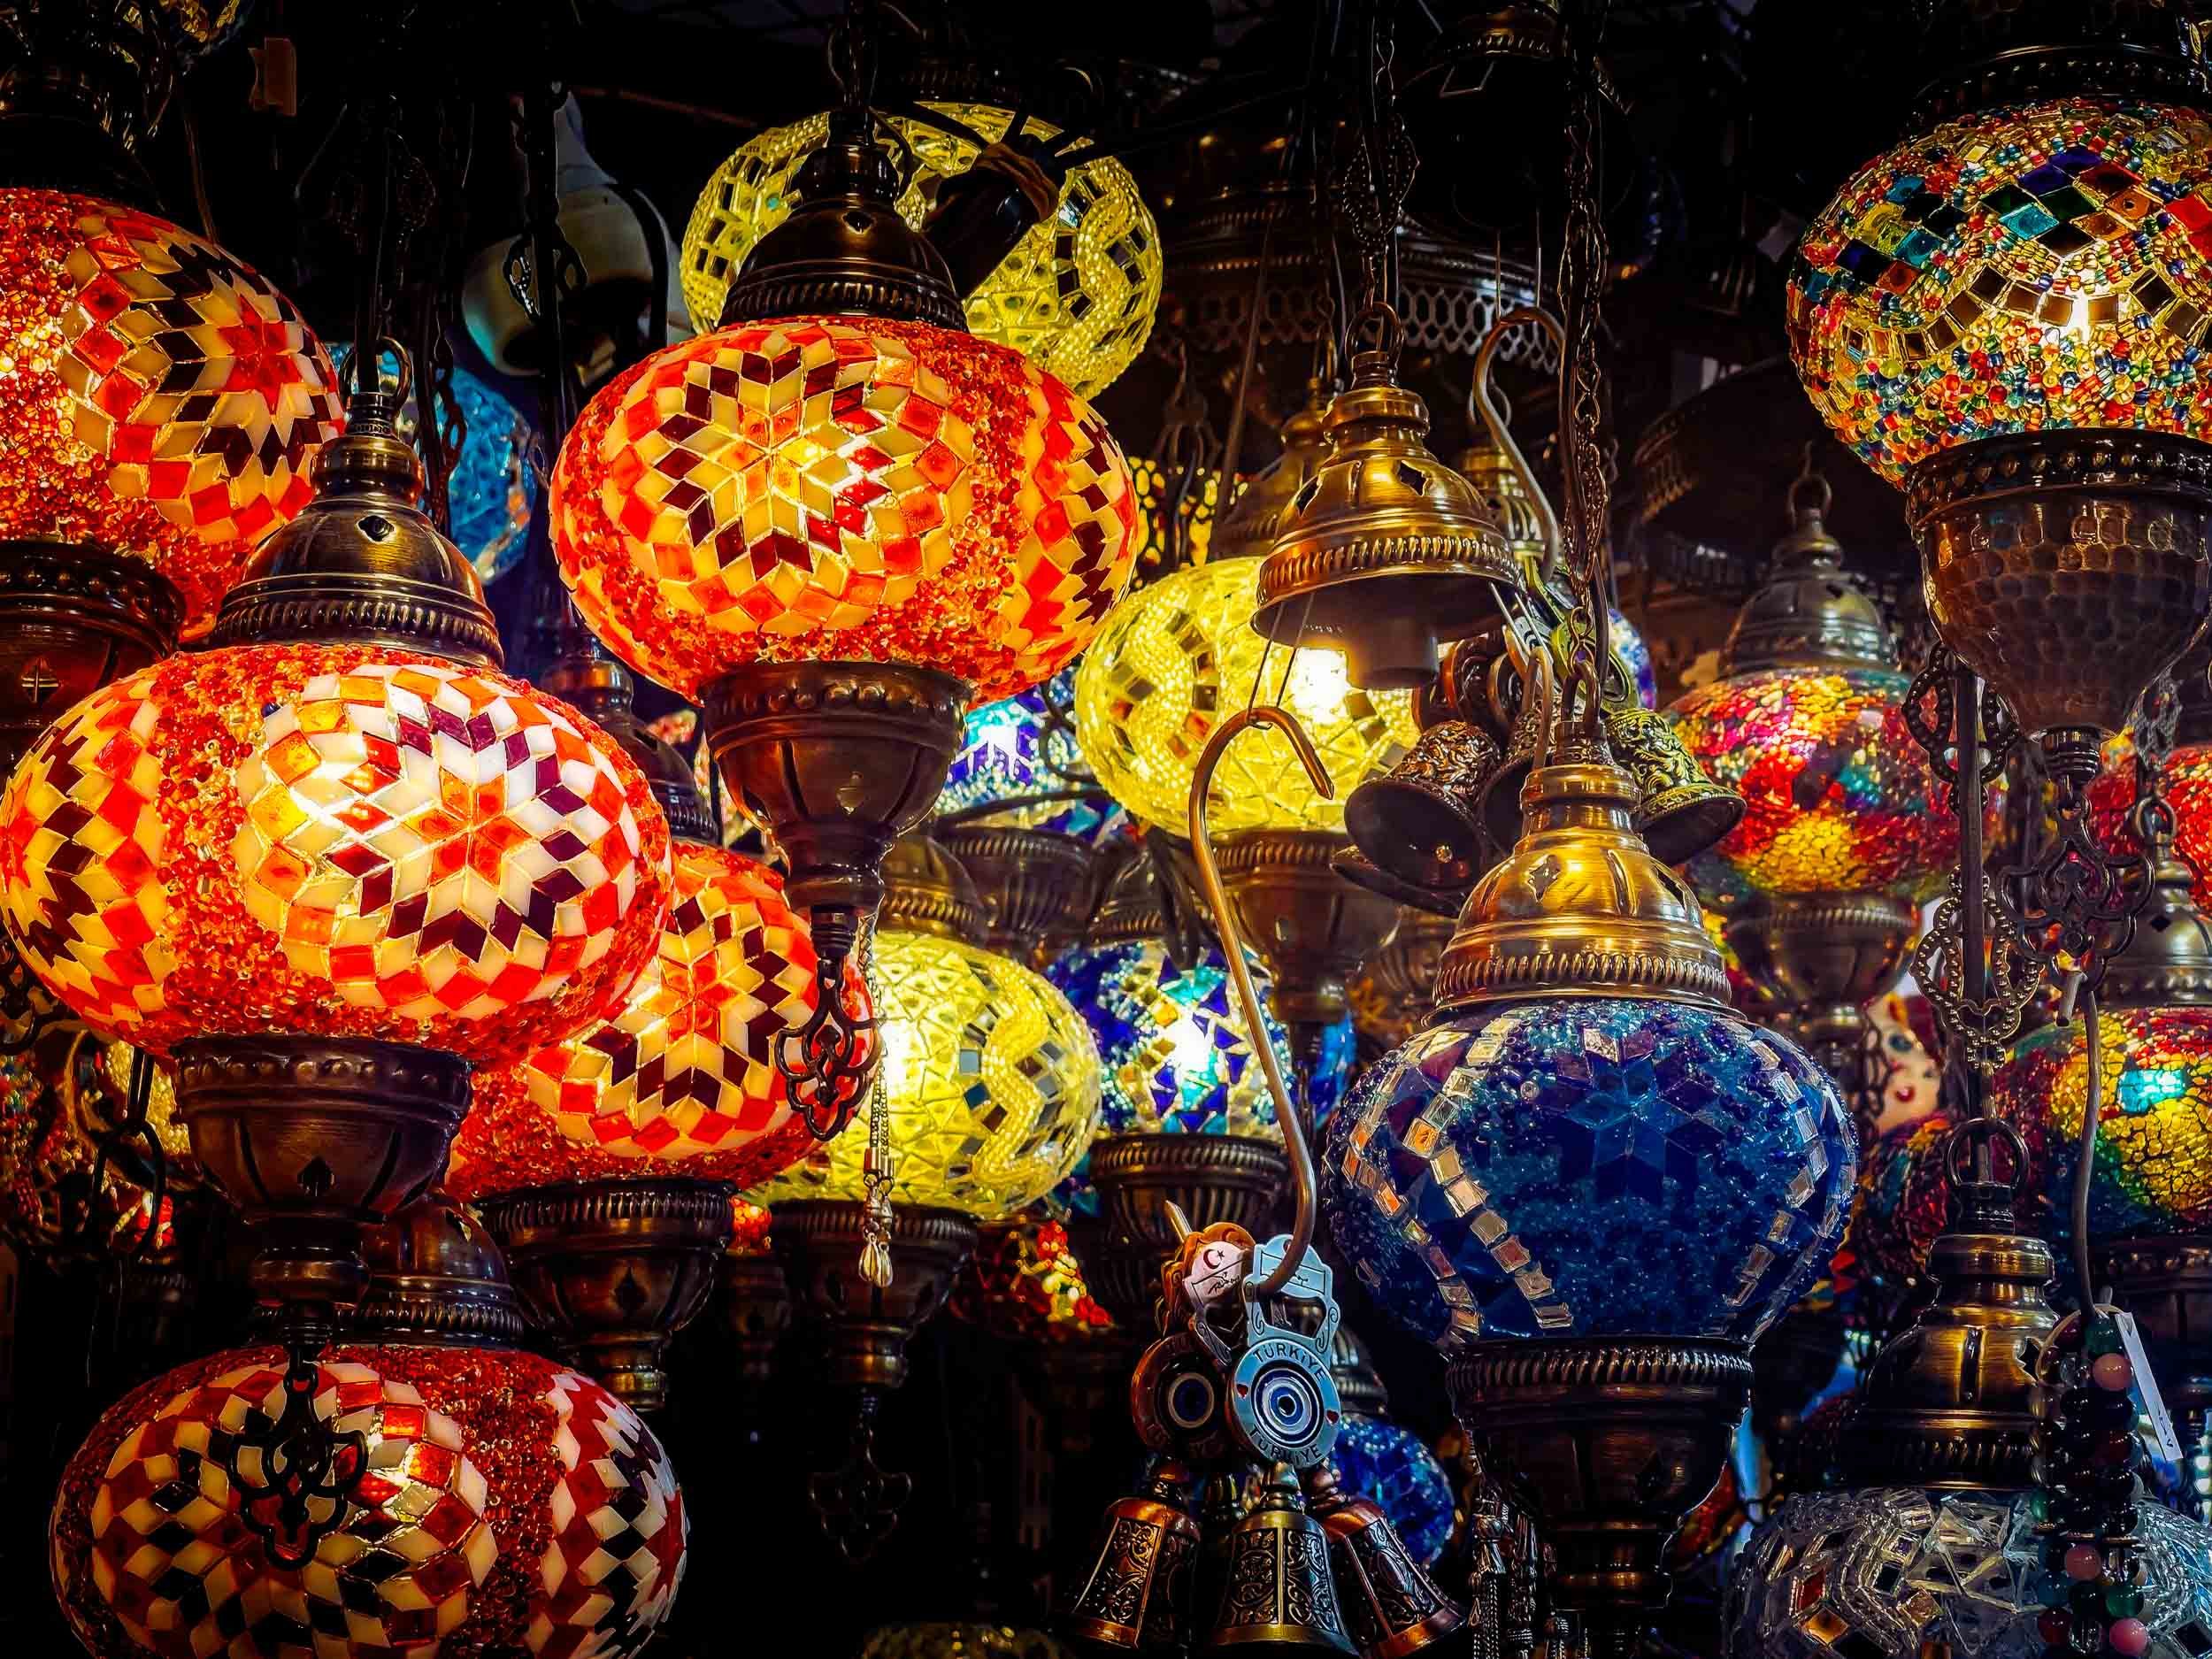
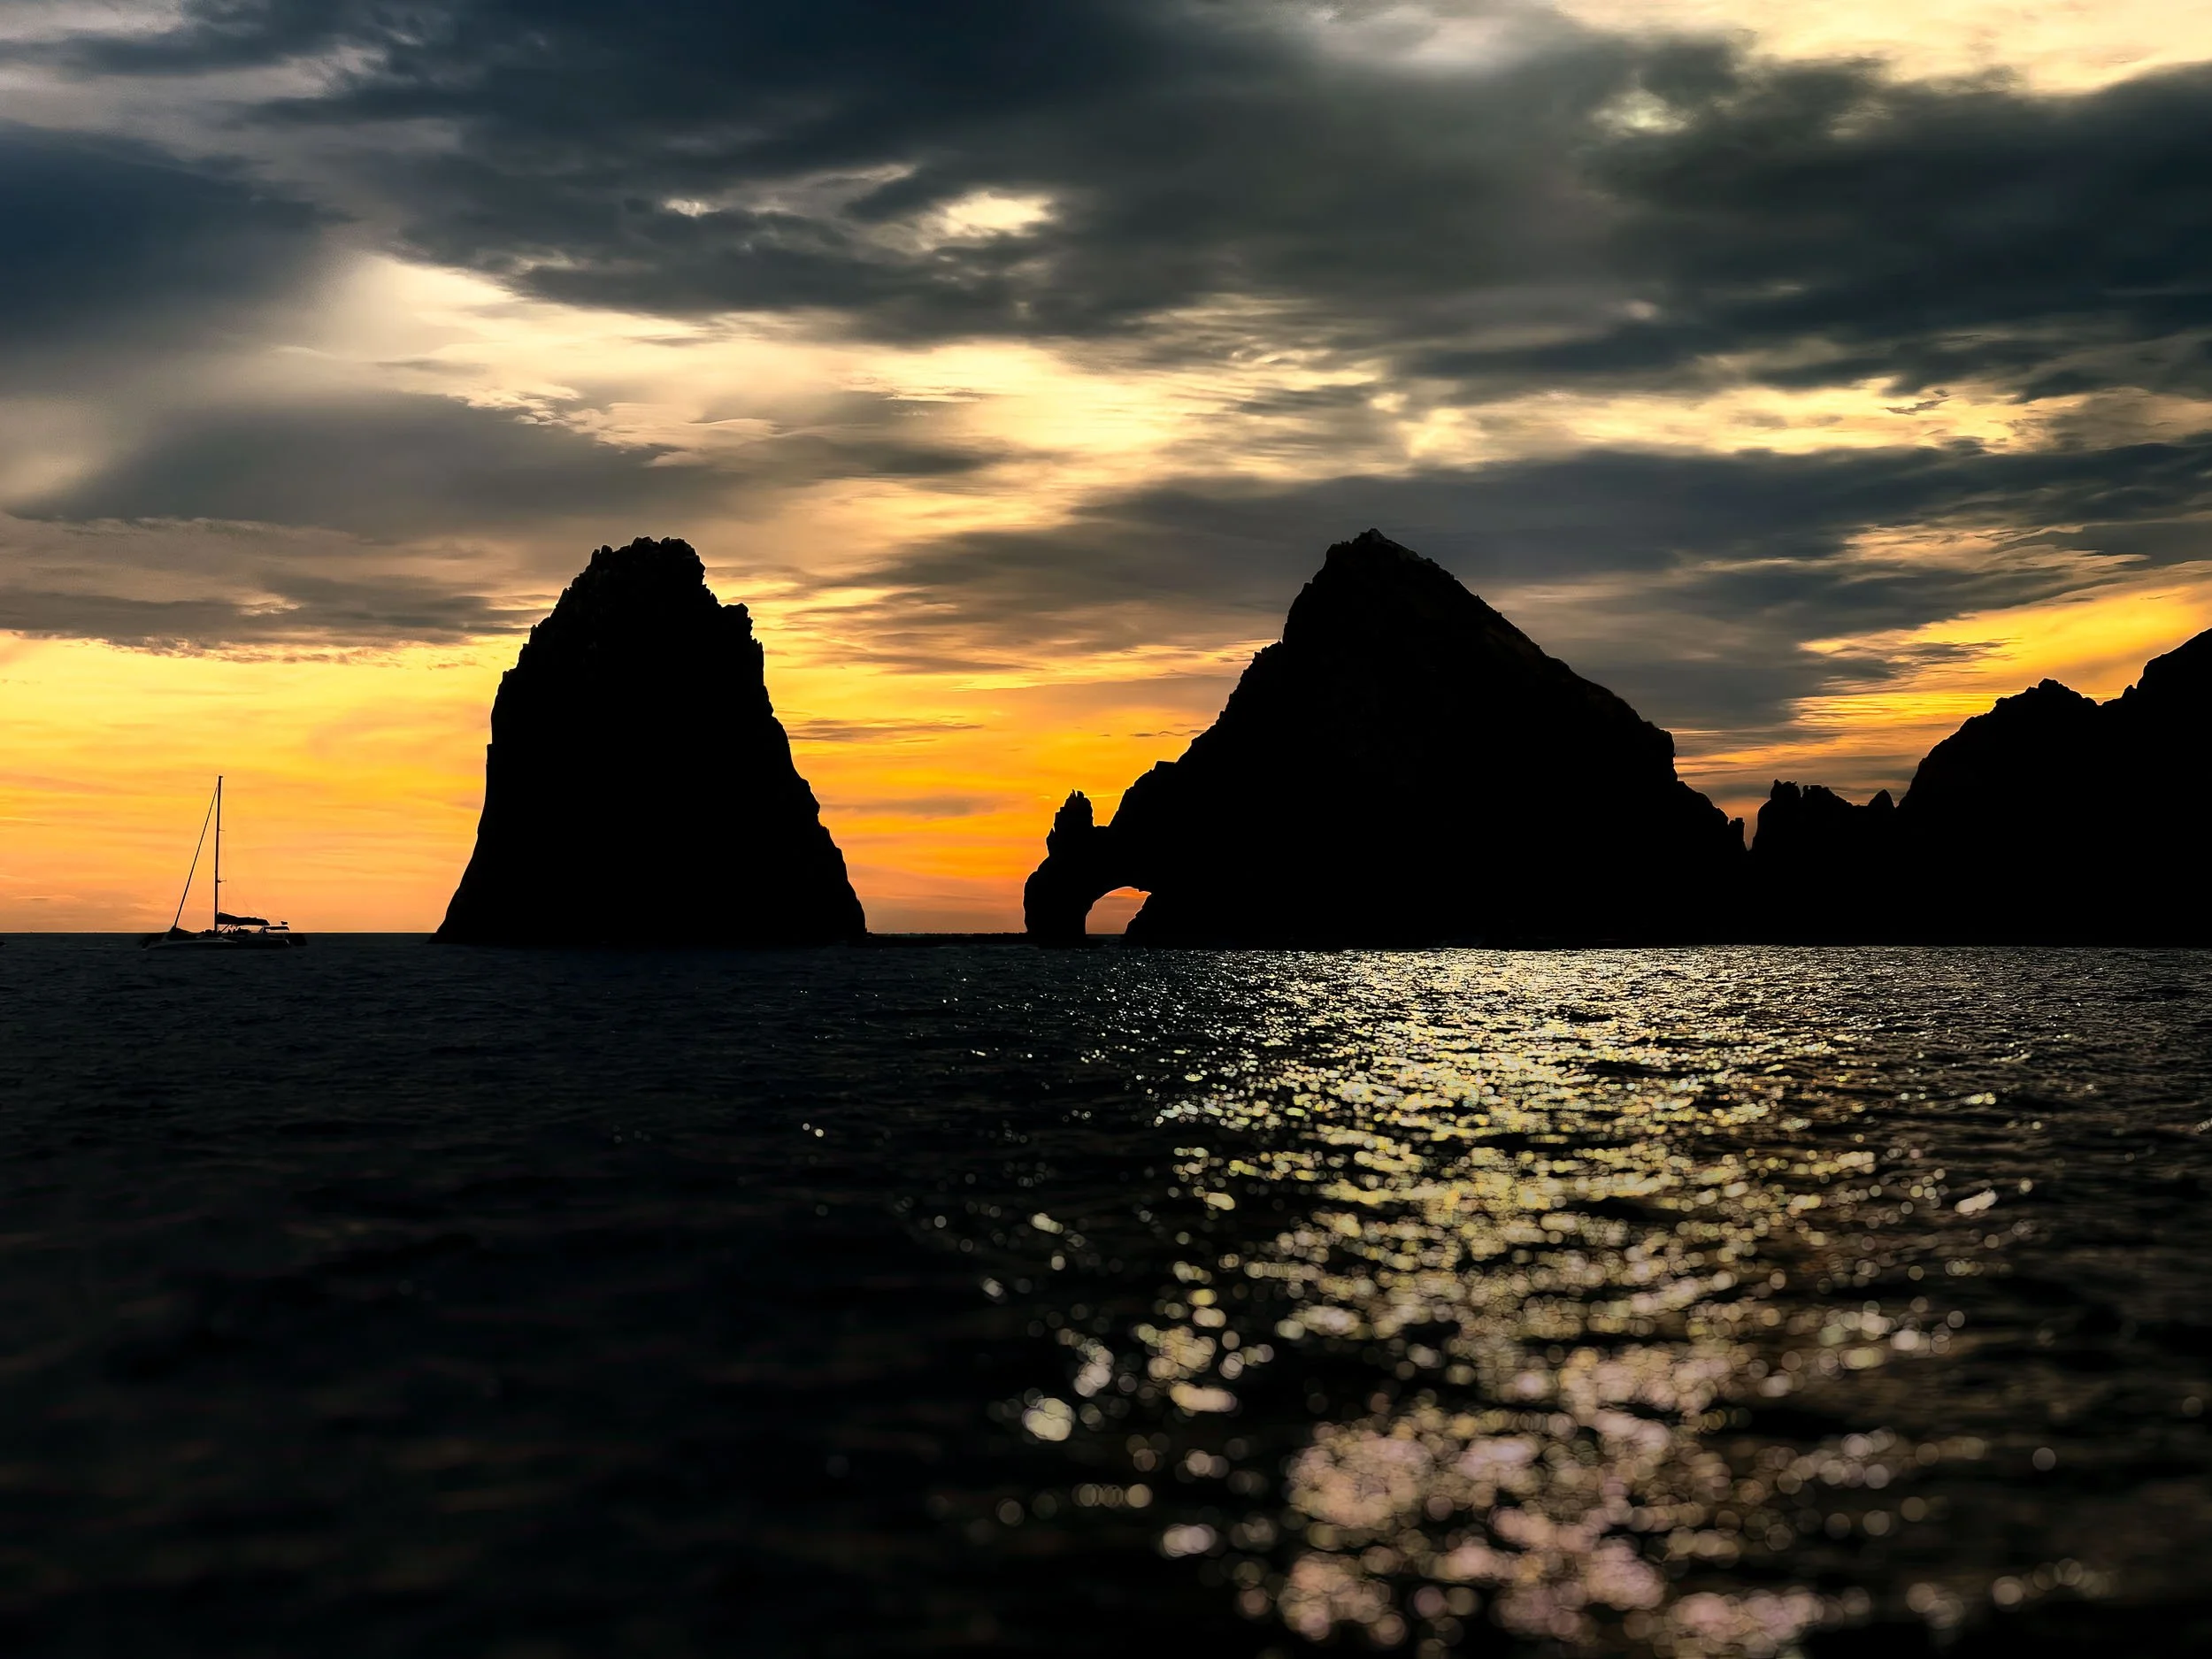
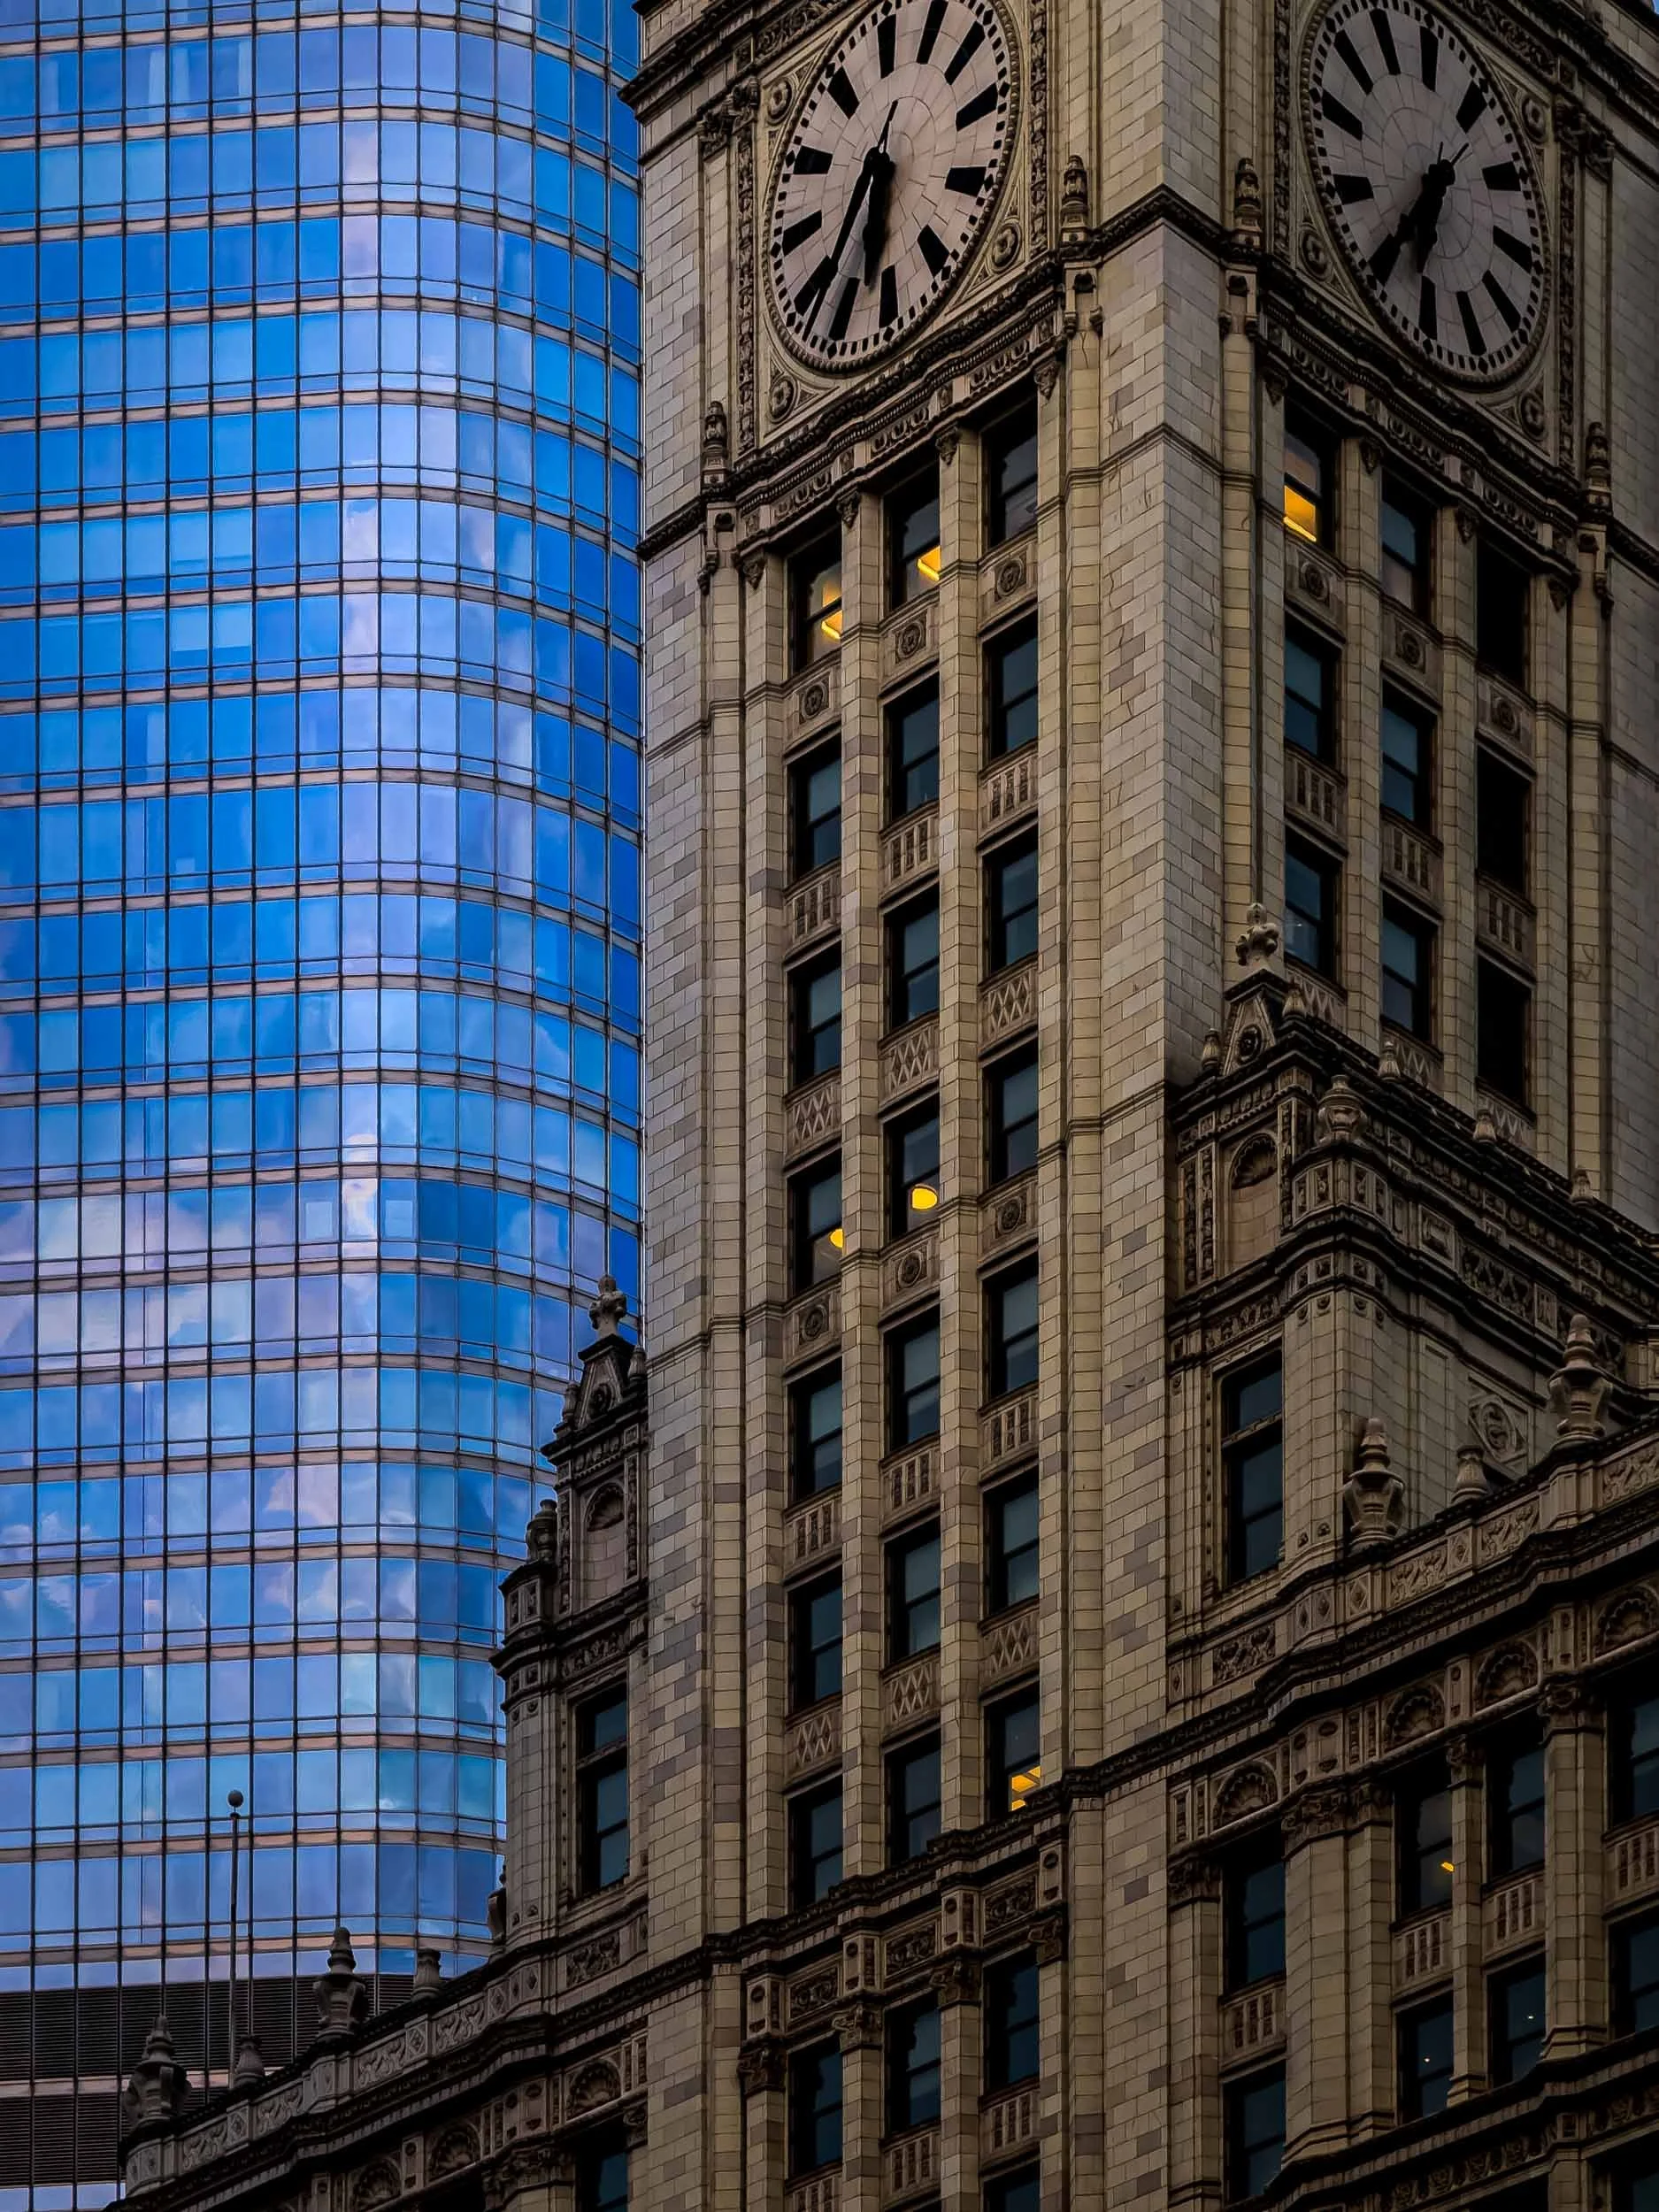
Travel photography is often about moments that appear unexpectedly: a great view on the way to dinner, an interesting urban scene between conference sessions, or the perfect lighting on a landscape right after you packed up your gear. In those situations, convenience matters.
An iPhone is always in my pocket, which means I’m far more likely to capture the moment whether an expansive landscape or a tight detail shot.

iPhone RAW Files Are Better Than You May Think
Modern iPhones are capable of producing excellent image quality. Even more important for photographers, they can capture RAW files using Apple’s ProRAW format or third-party camera apps.
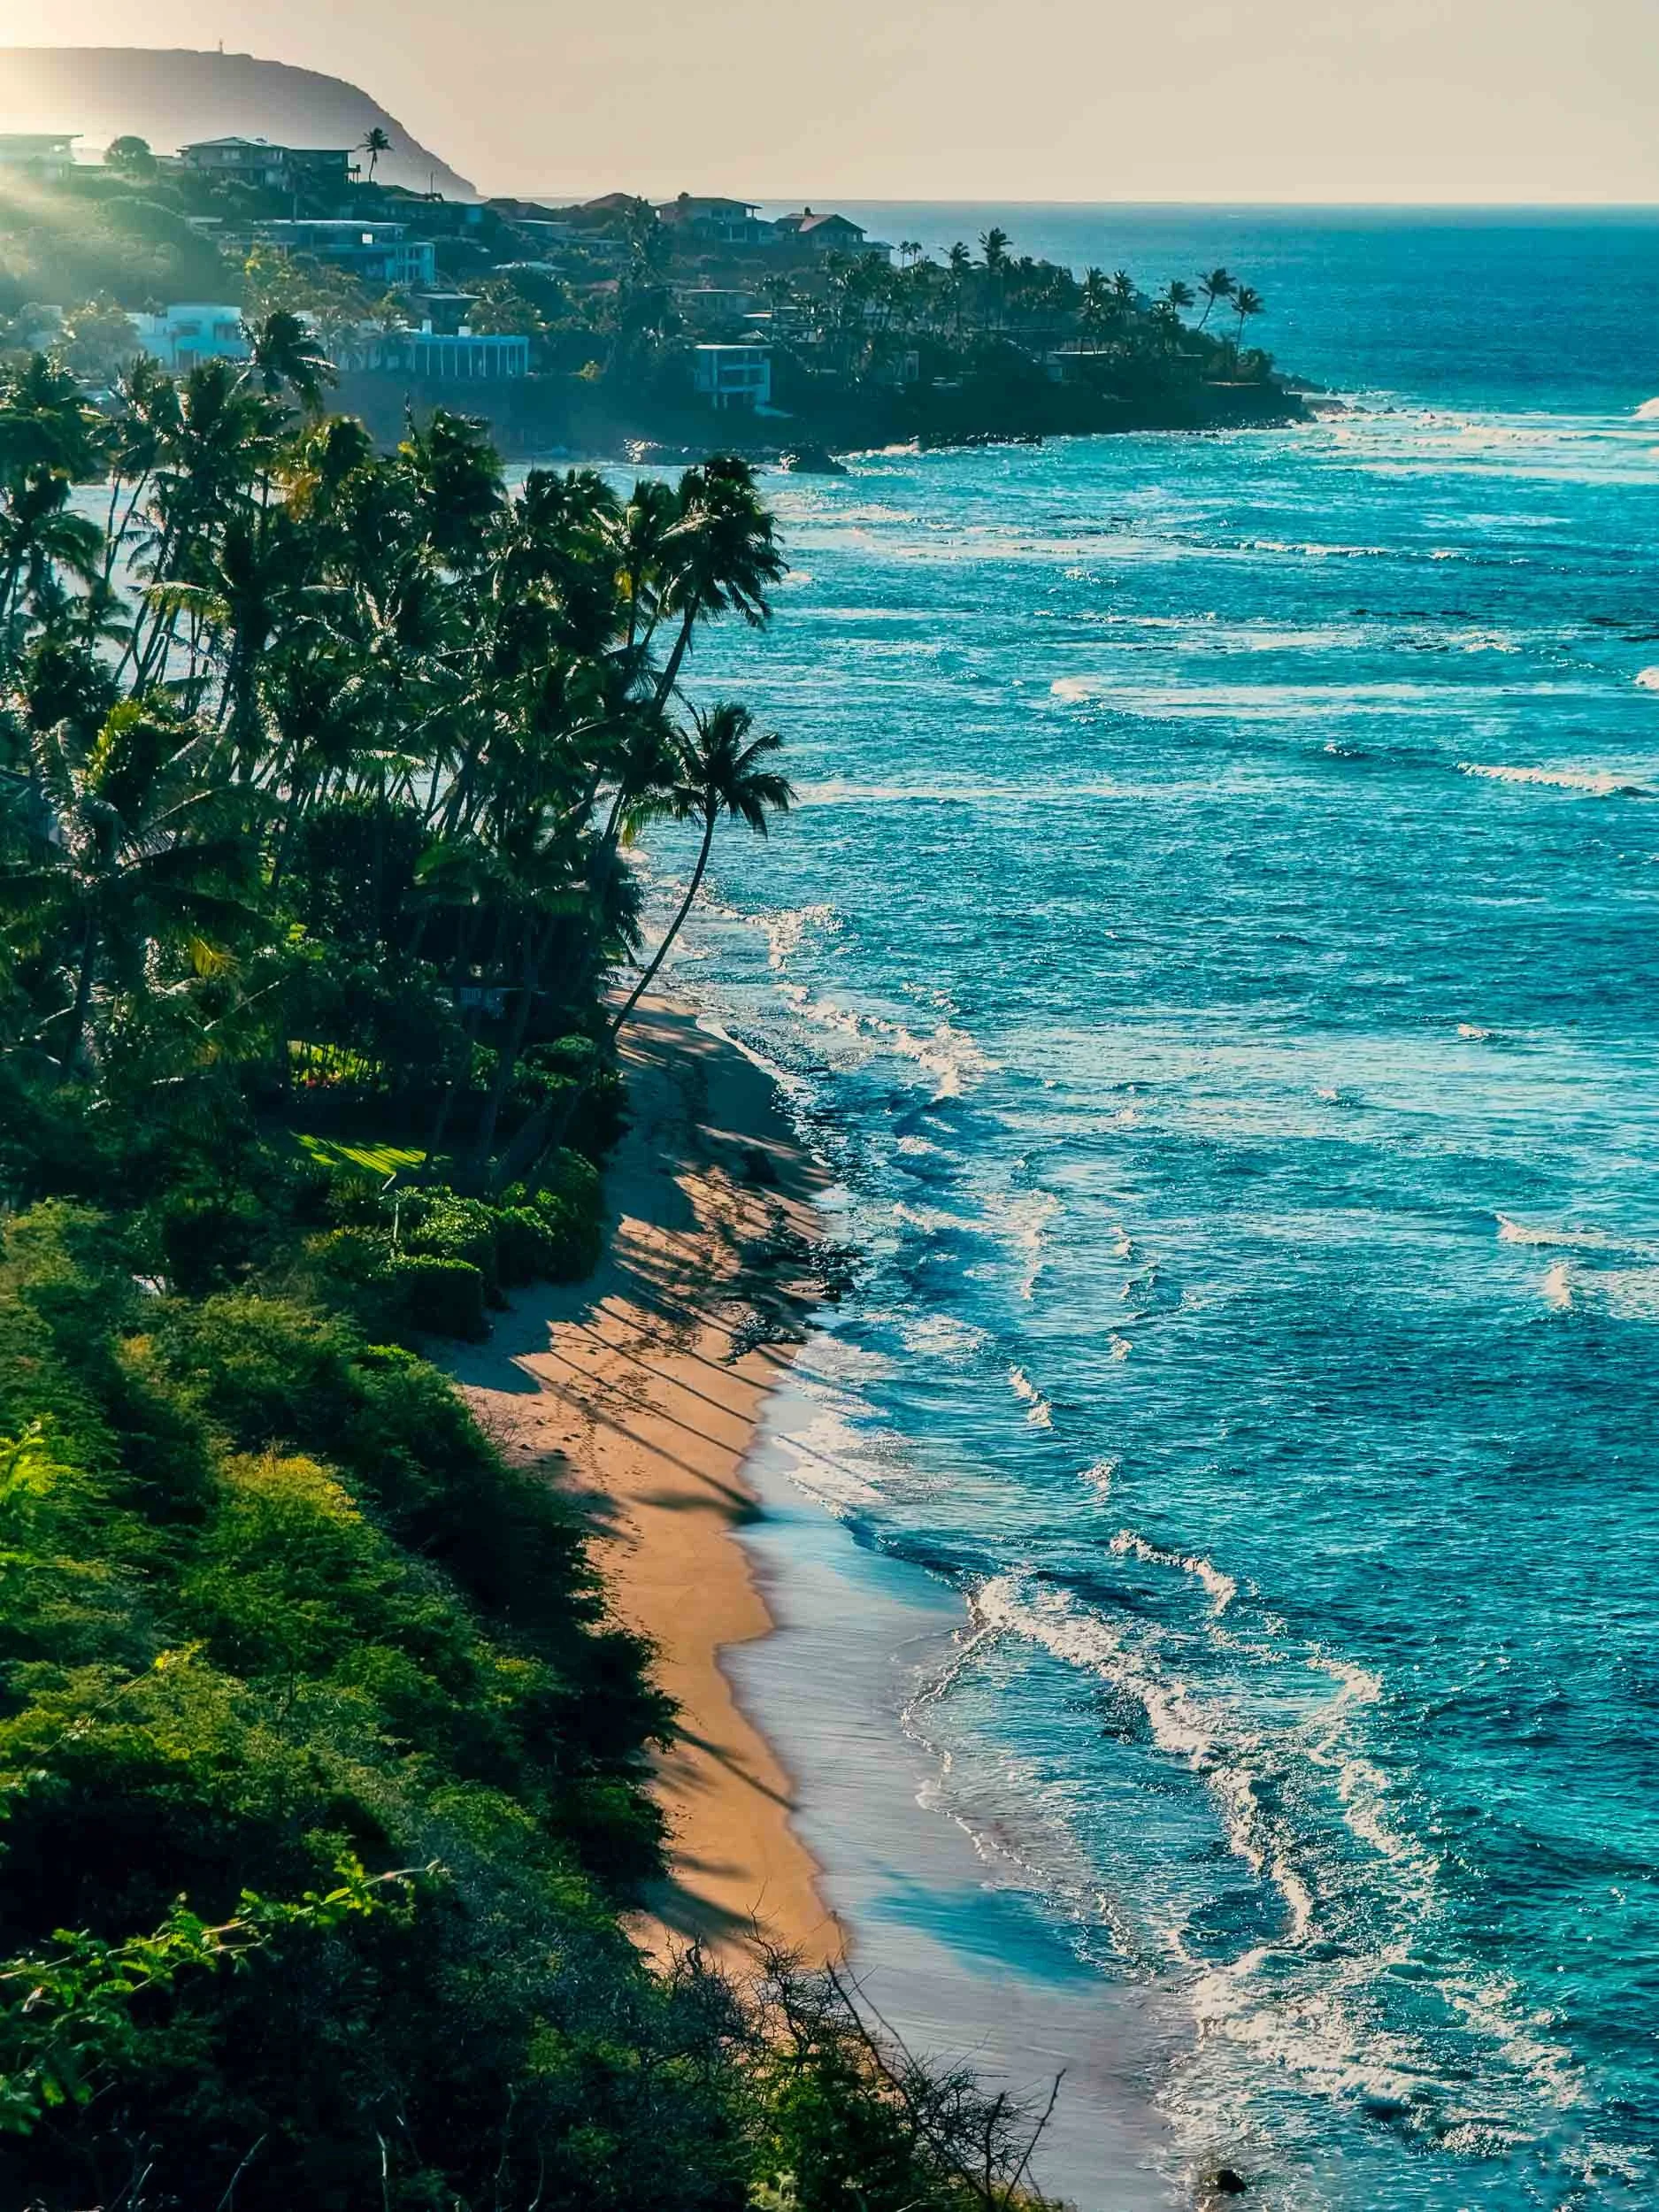
A view of the Oahu shoreline - iPhone 16 Pro Max
RAW images retain far more data than standard JPEG files. That extra information makes it possible to recover highlights, lift shadows, and fine-tune color during editing. In practice, editing an iPhone RAW file feels surprisingly similar to editing images from a DSLR or mirrorless camera.
Editing iPhone Photos in Lightroom
One of the biggest advantages of shooting RAW on an iPhone is how easily the files fit into an editing workflow.
When traveling, I often import photos directly into Lightroom Mobile. It’s powerful enough to handle most adjustments — exposure, color balance, contrast, and sharpening.
If I want to refine the image further, Lightroom’s cloud sync makes it easy to open the file later in Lightroom Classic on my desktop for more detailed editing or to use any of the Lightroom plug-ins that help me craft my final image.
The process is simple and flexible, which makes iPhone photography fit naturally into my existing workflow.
3 Tips for Better iPhone Travel Photography
While the camera is simple to use, a few small habits can make a big difference.
1. Shoot RAW when possible.
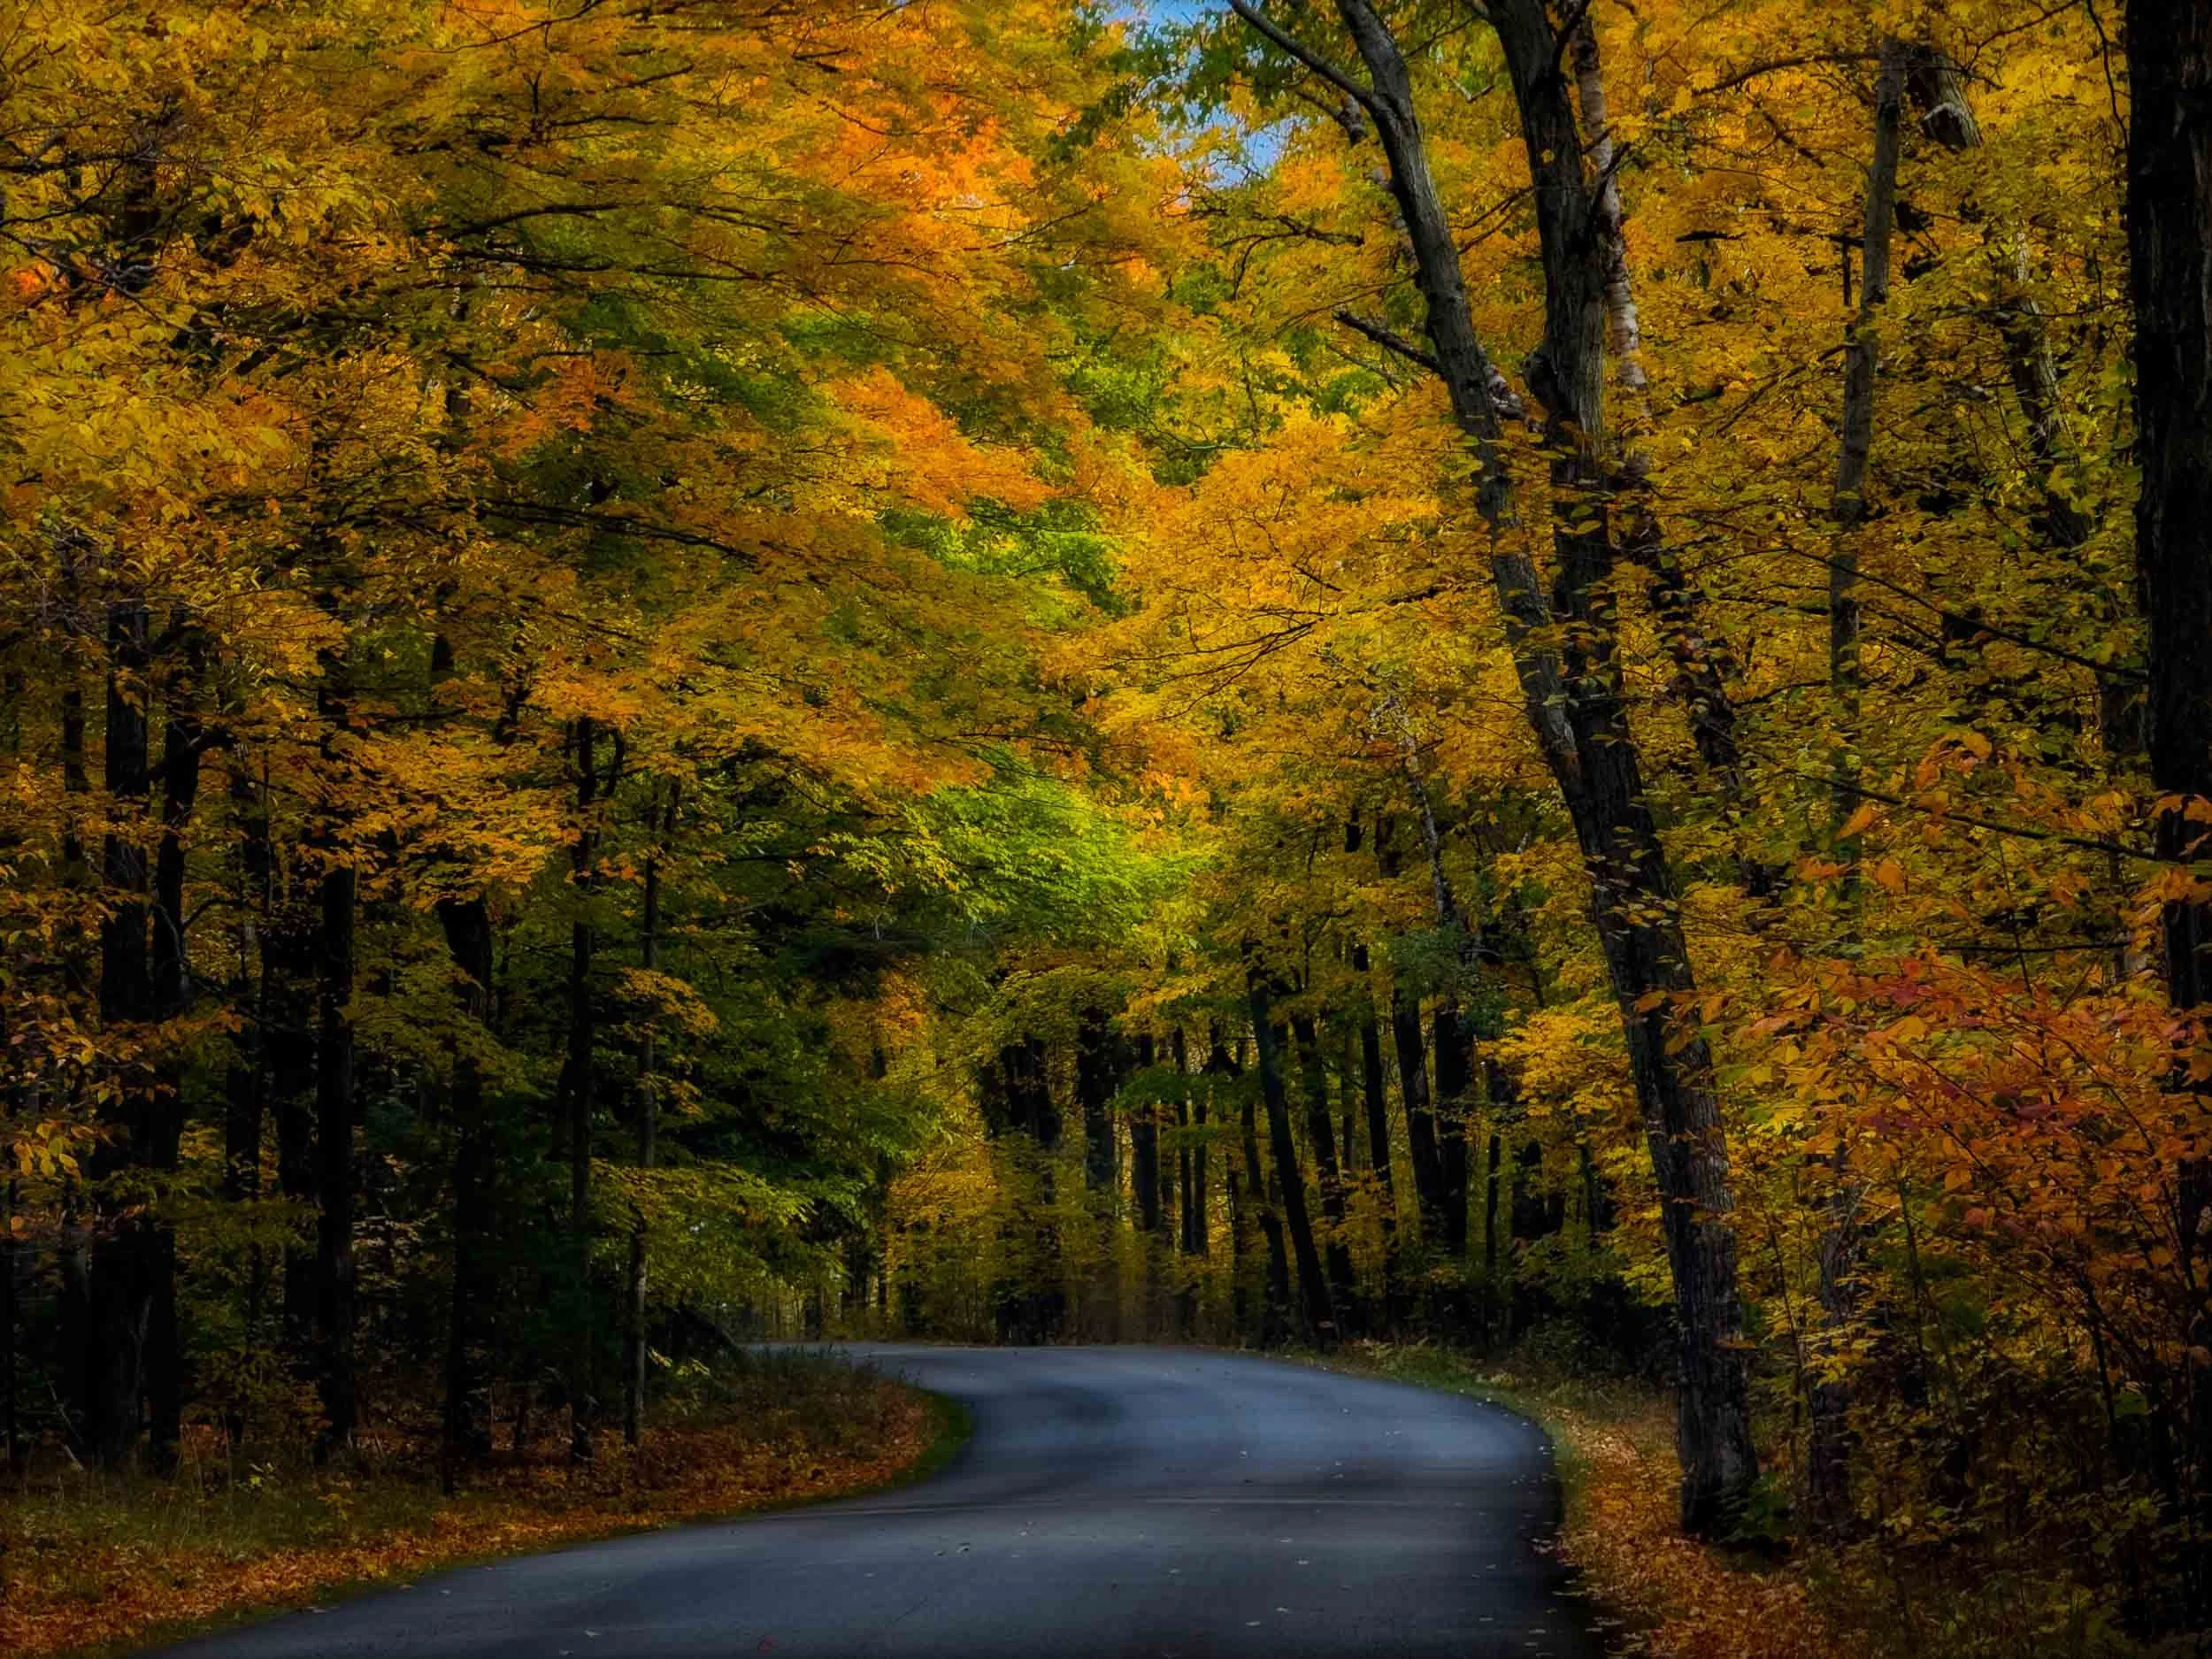
RAW files give you far more flexibility when editing. If the lighting is challenging or the scene is especially interesting, shooting in RAW can help preserve detail in highlights and shadows.
2. Pay attention to light.
Good light matters just as much with a phone as it does with a dedicated camera. Early morning, late afternoon, and overcast conditions usually produce the most balanced and pleasing results. Of course, harsh lighting and strong shadows can produce really striking images as well so take advantage of the ability to easily experiment with the iPhone.
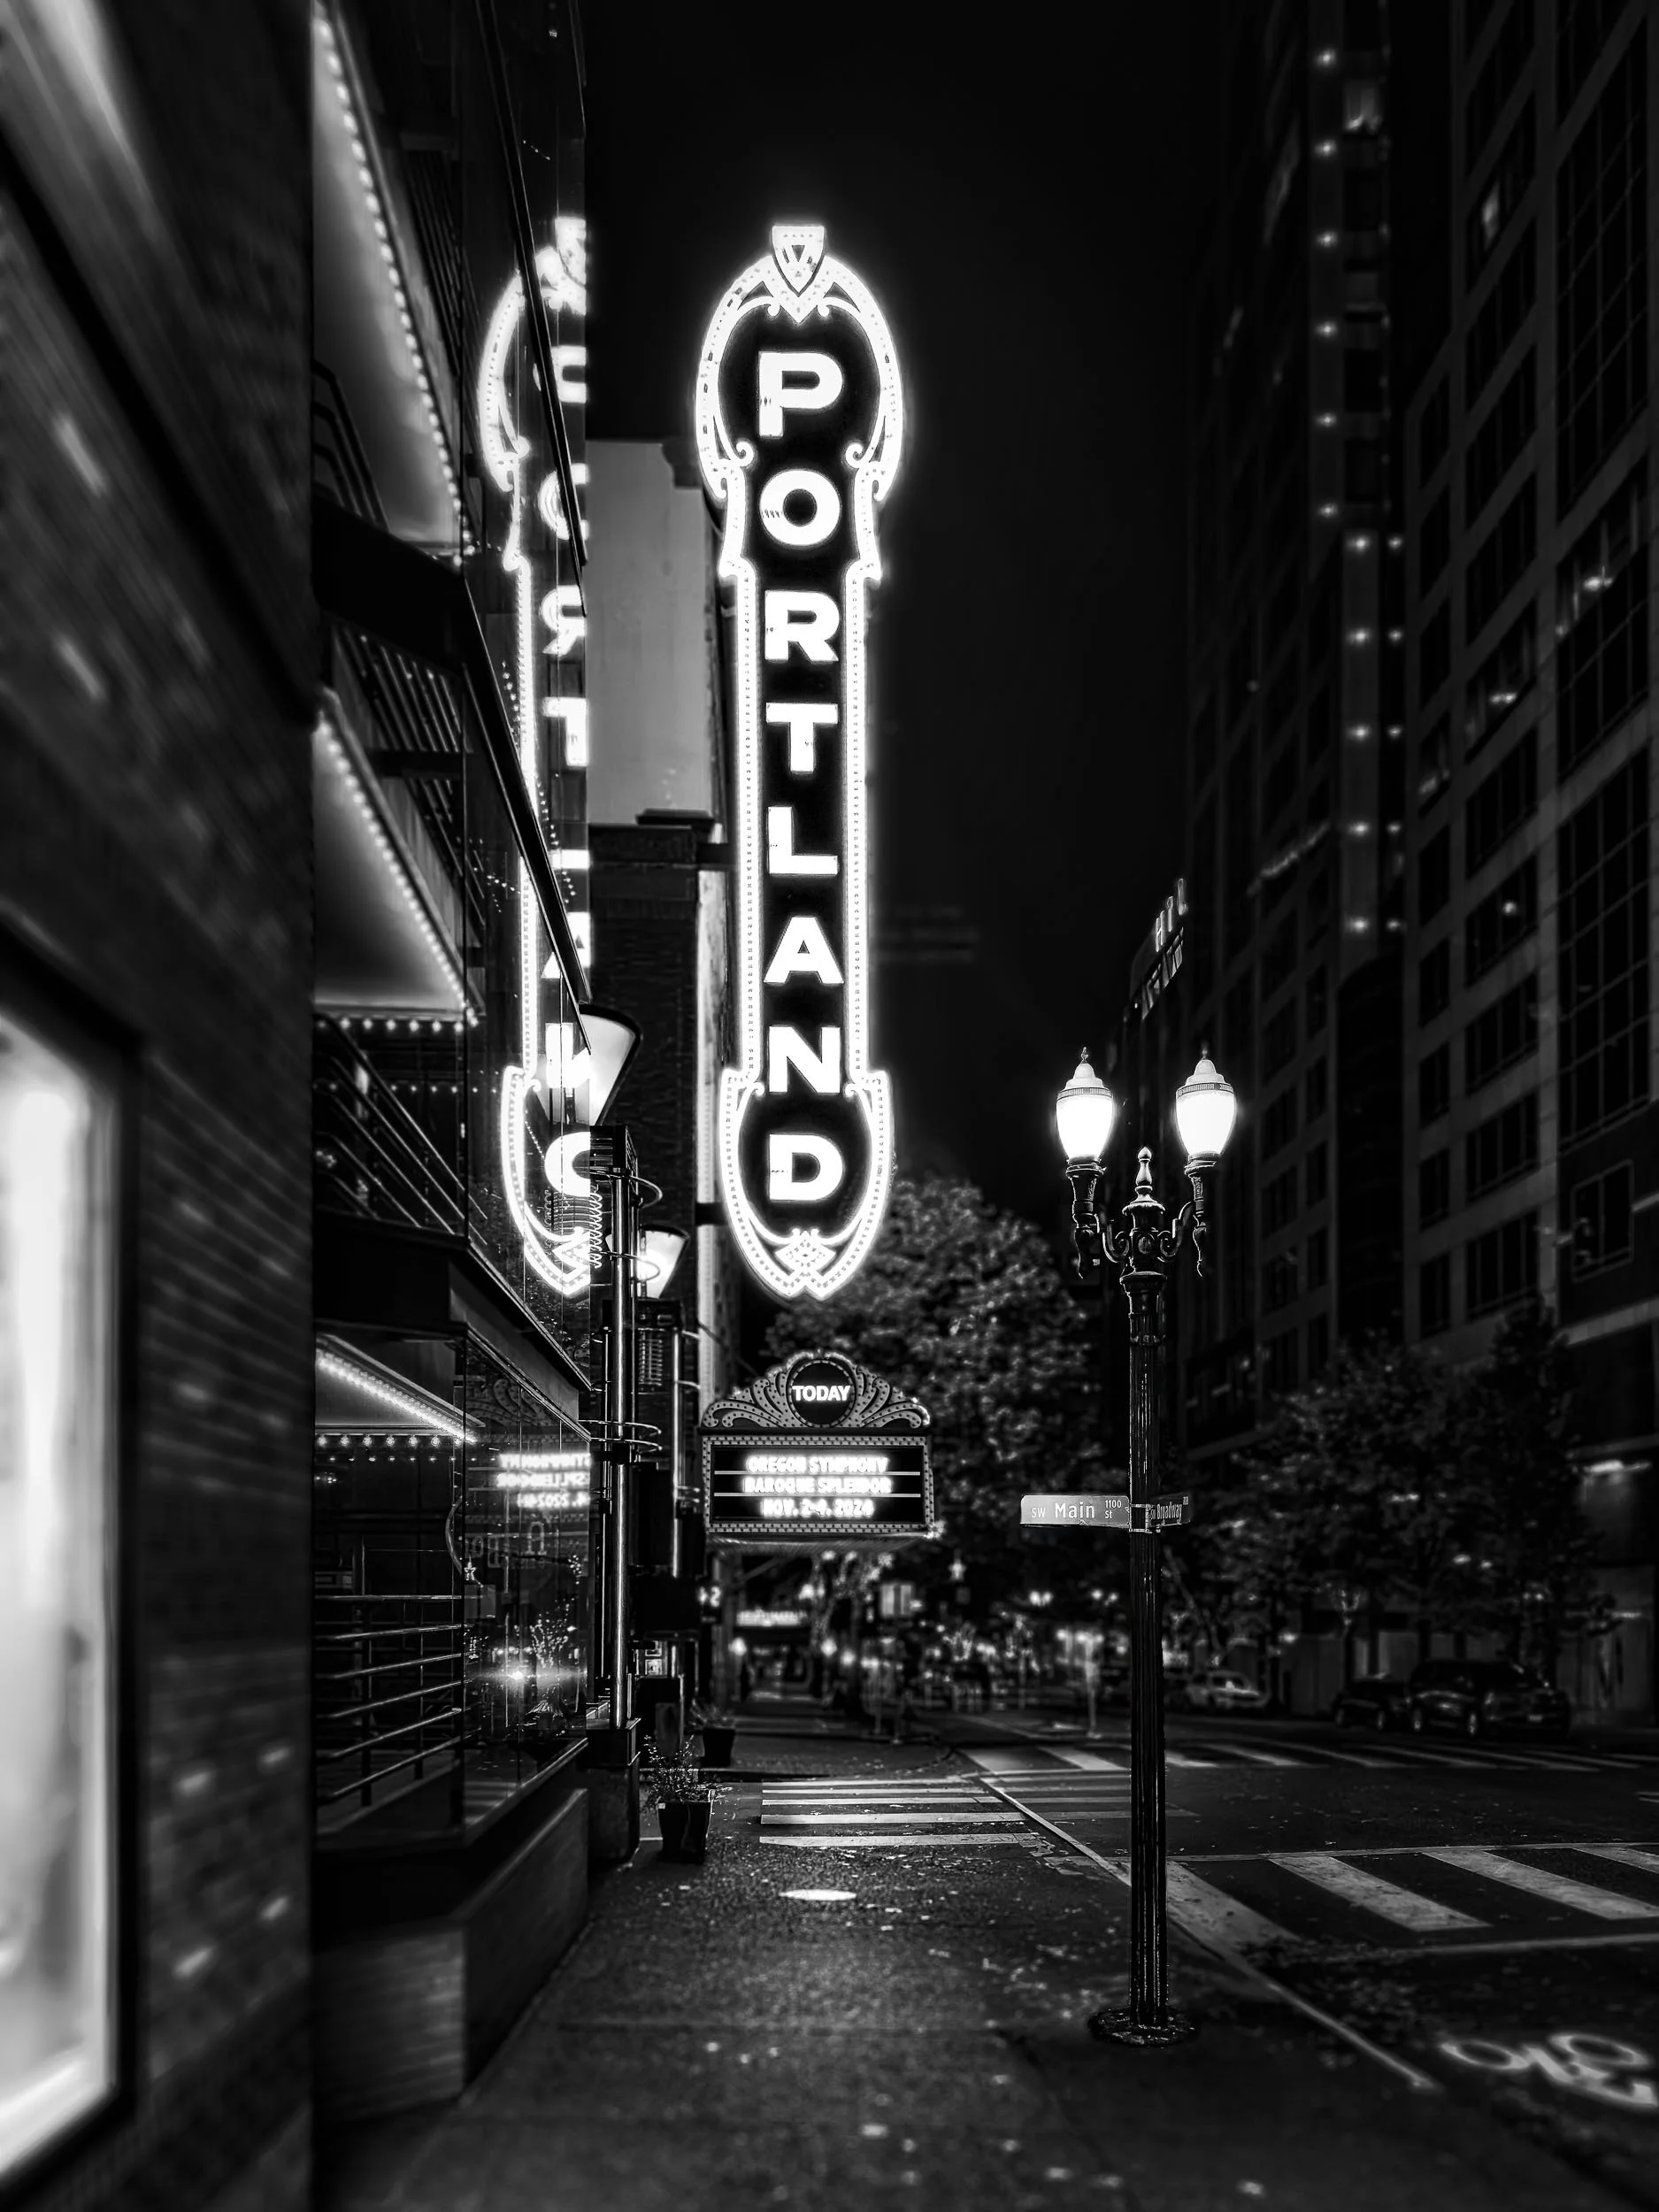
3. Keep the composition simple.
Travel scenes often work best with a clear subject and minimal distractions. Look for strong lines, clean backgrounds, and a single point of interest. Then again, rules were meant to be occasionally broken…


A Camera That’s Always Ready
My iPhone hasn’t replaced my mirrorless camera and professional-grade glass, but it has become an important part of how I photograph when traveling. The convenience means I capture more moments, and with RAW capture and modern editing tools, the results are often better than you may expect.
Sometimes the best travel camera really is the one that’s already in your pocket.
Select images are available as prints. Please see my Shop links for options.