
How I Photograph Backyard Birds in Winter (Settings, Strategy & Editing Tips)
Winter is one of my favorite seasons for backyard bird photography. When the leaves are gone and the snow reflects light back into the scene, even common backyard species become striking subjects.
In this post, I’ll walk through exactly how I photograph winter birds, from setup and camera settings to how I finish the images in Lightroom.
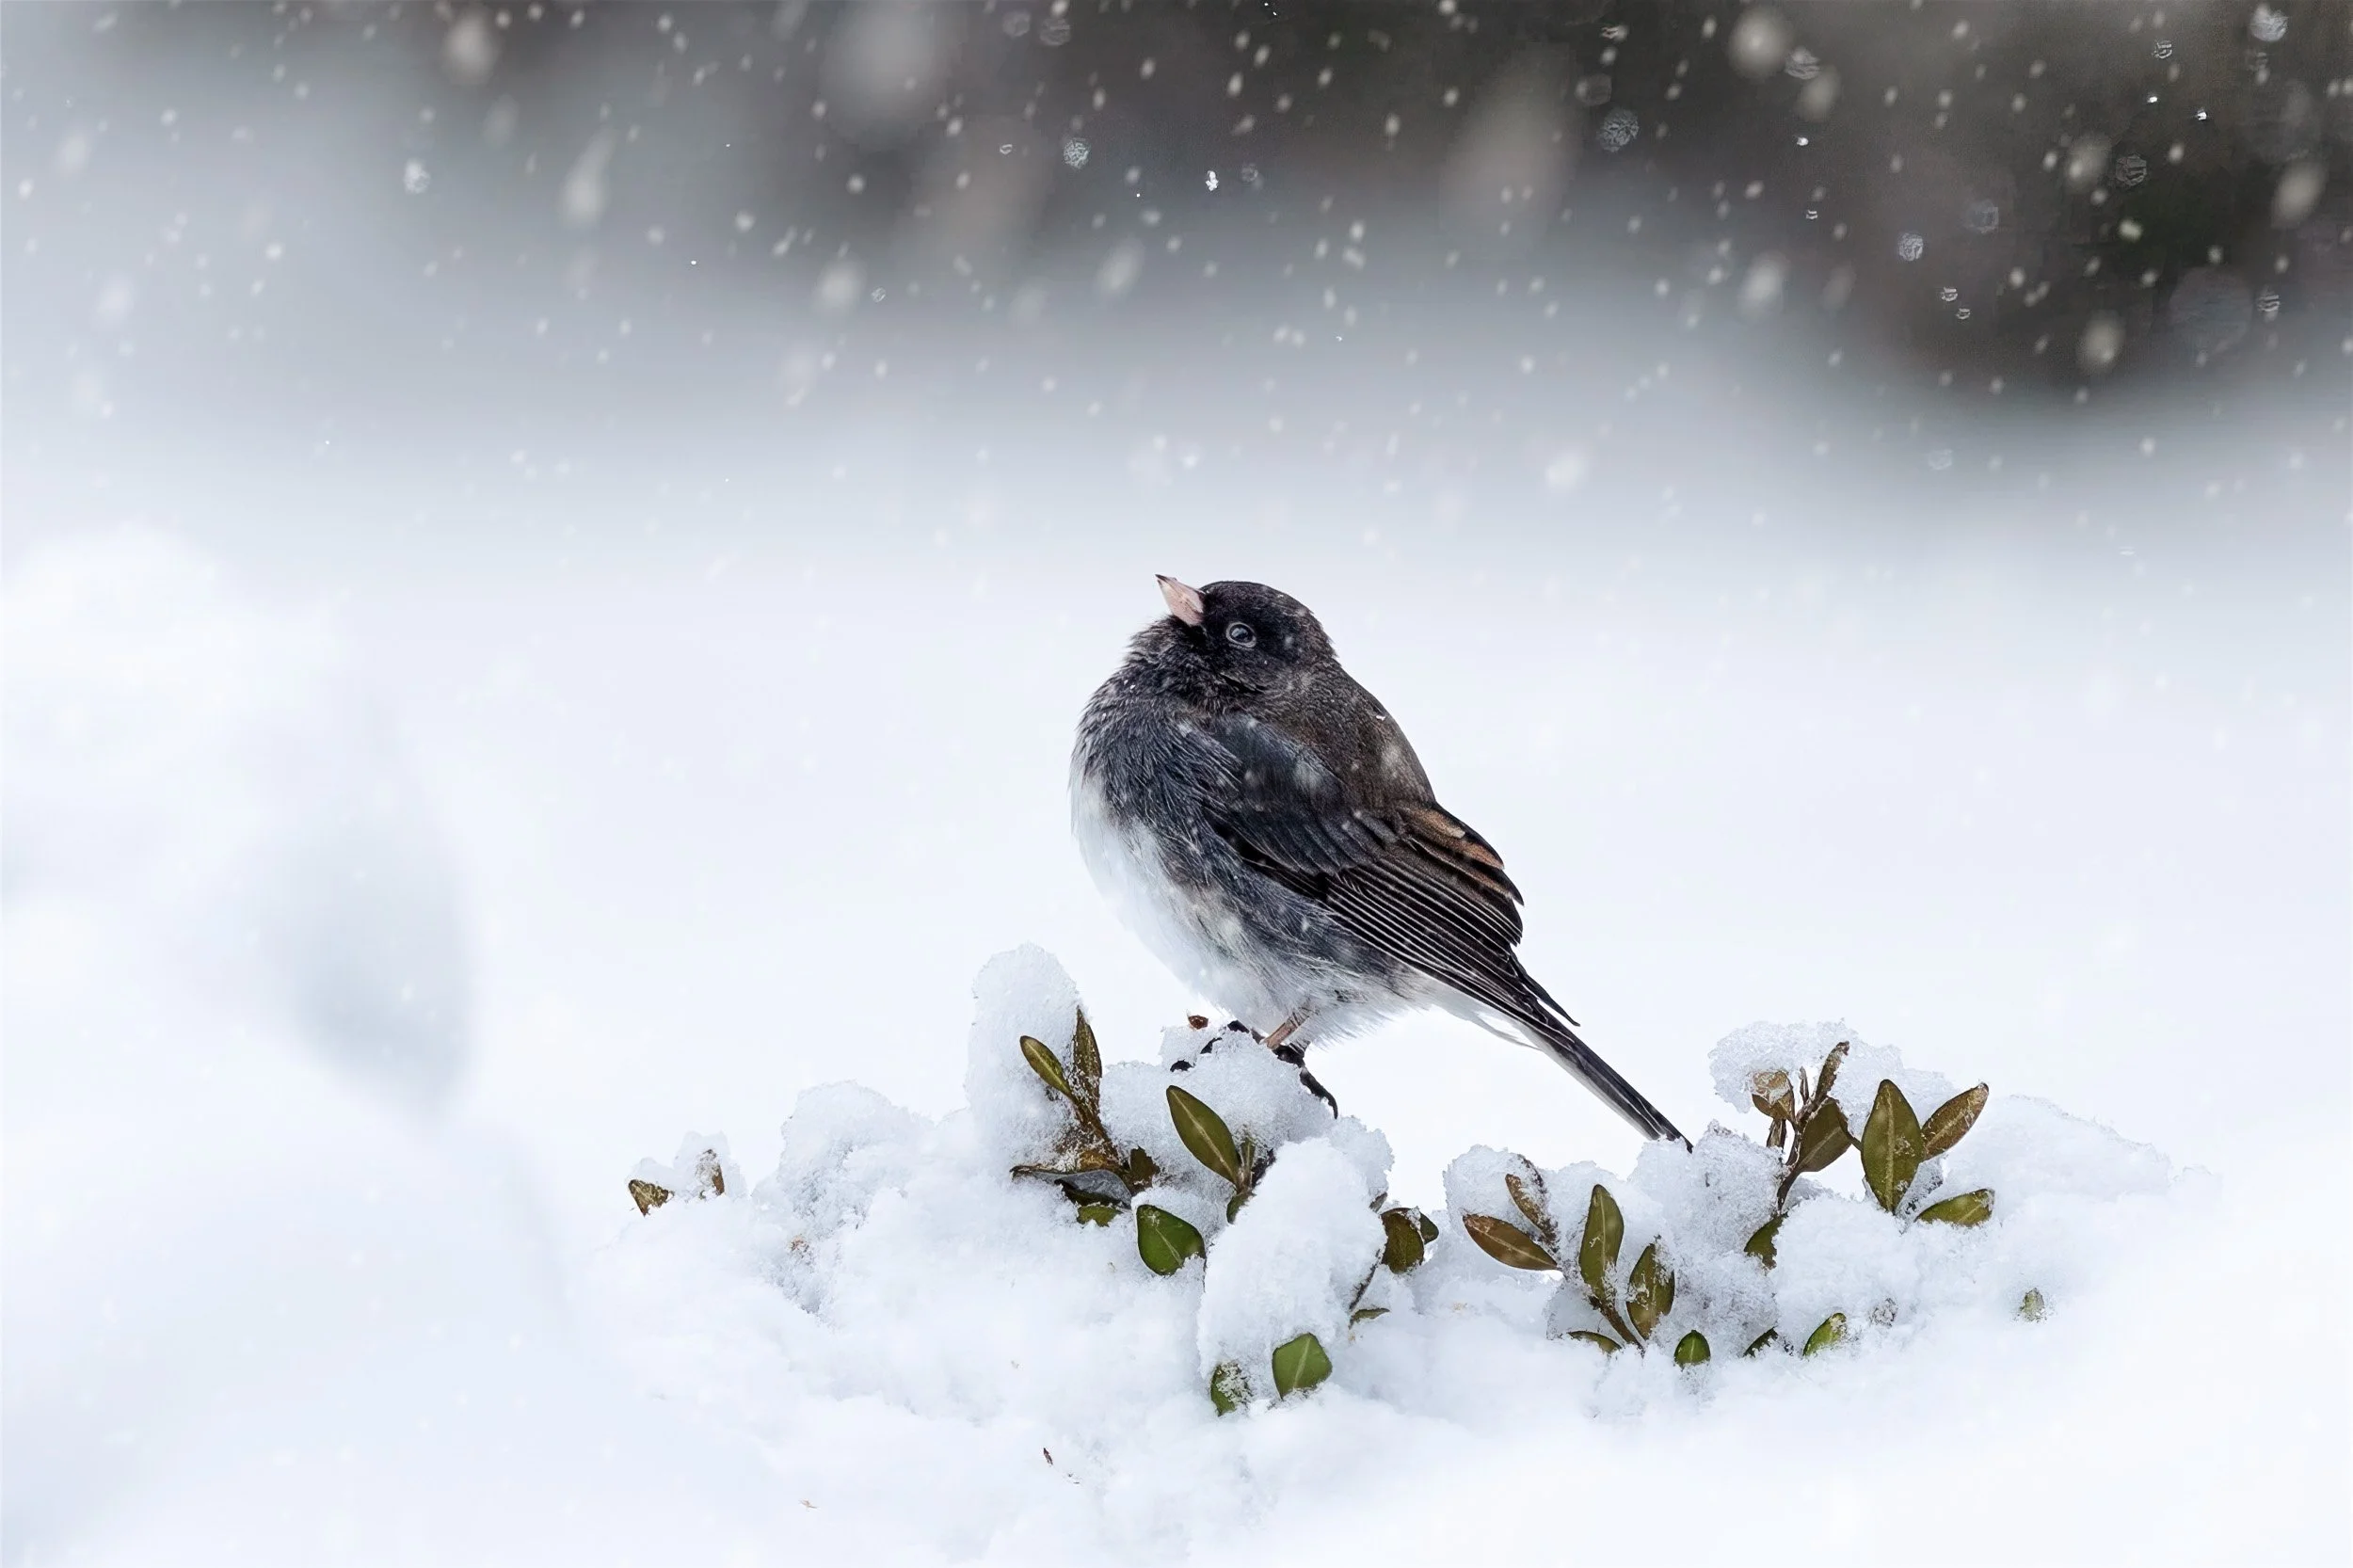
A Junco poses in the snow
Why Winter Is Ideal for Bird Photography
Winter simplifies many aspects:
Cleaner backgrounds
Fewer visual distractions
Better subject separation
Predictable feeding behavior
Soft, reflected light from snow
Backyard birds like Woodpeckers, Northern Cardinals, Juncos, and even House Sparrows make great subjects. The birds are more active around feeders and that consistency makes it easier to anticipate behavior and compose strong images.
My Setup
I typically shoot with a telephoto lens in the 200-400mm range. Longer focal lengths:
Compress the background
Create smoother bokeh
Allow distance so birds behave naturally
I shoot handheld most of the time. A tripod can help, but mobility matters when birds shift perches quickly.
Feeder & Perch Strategy
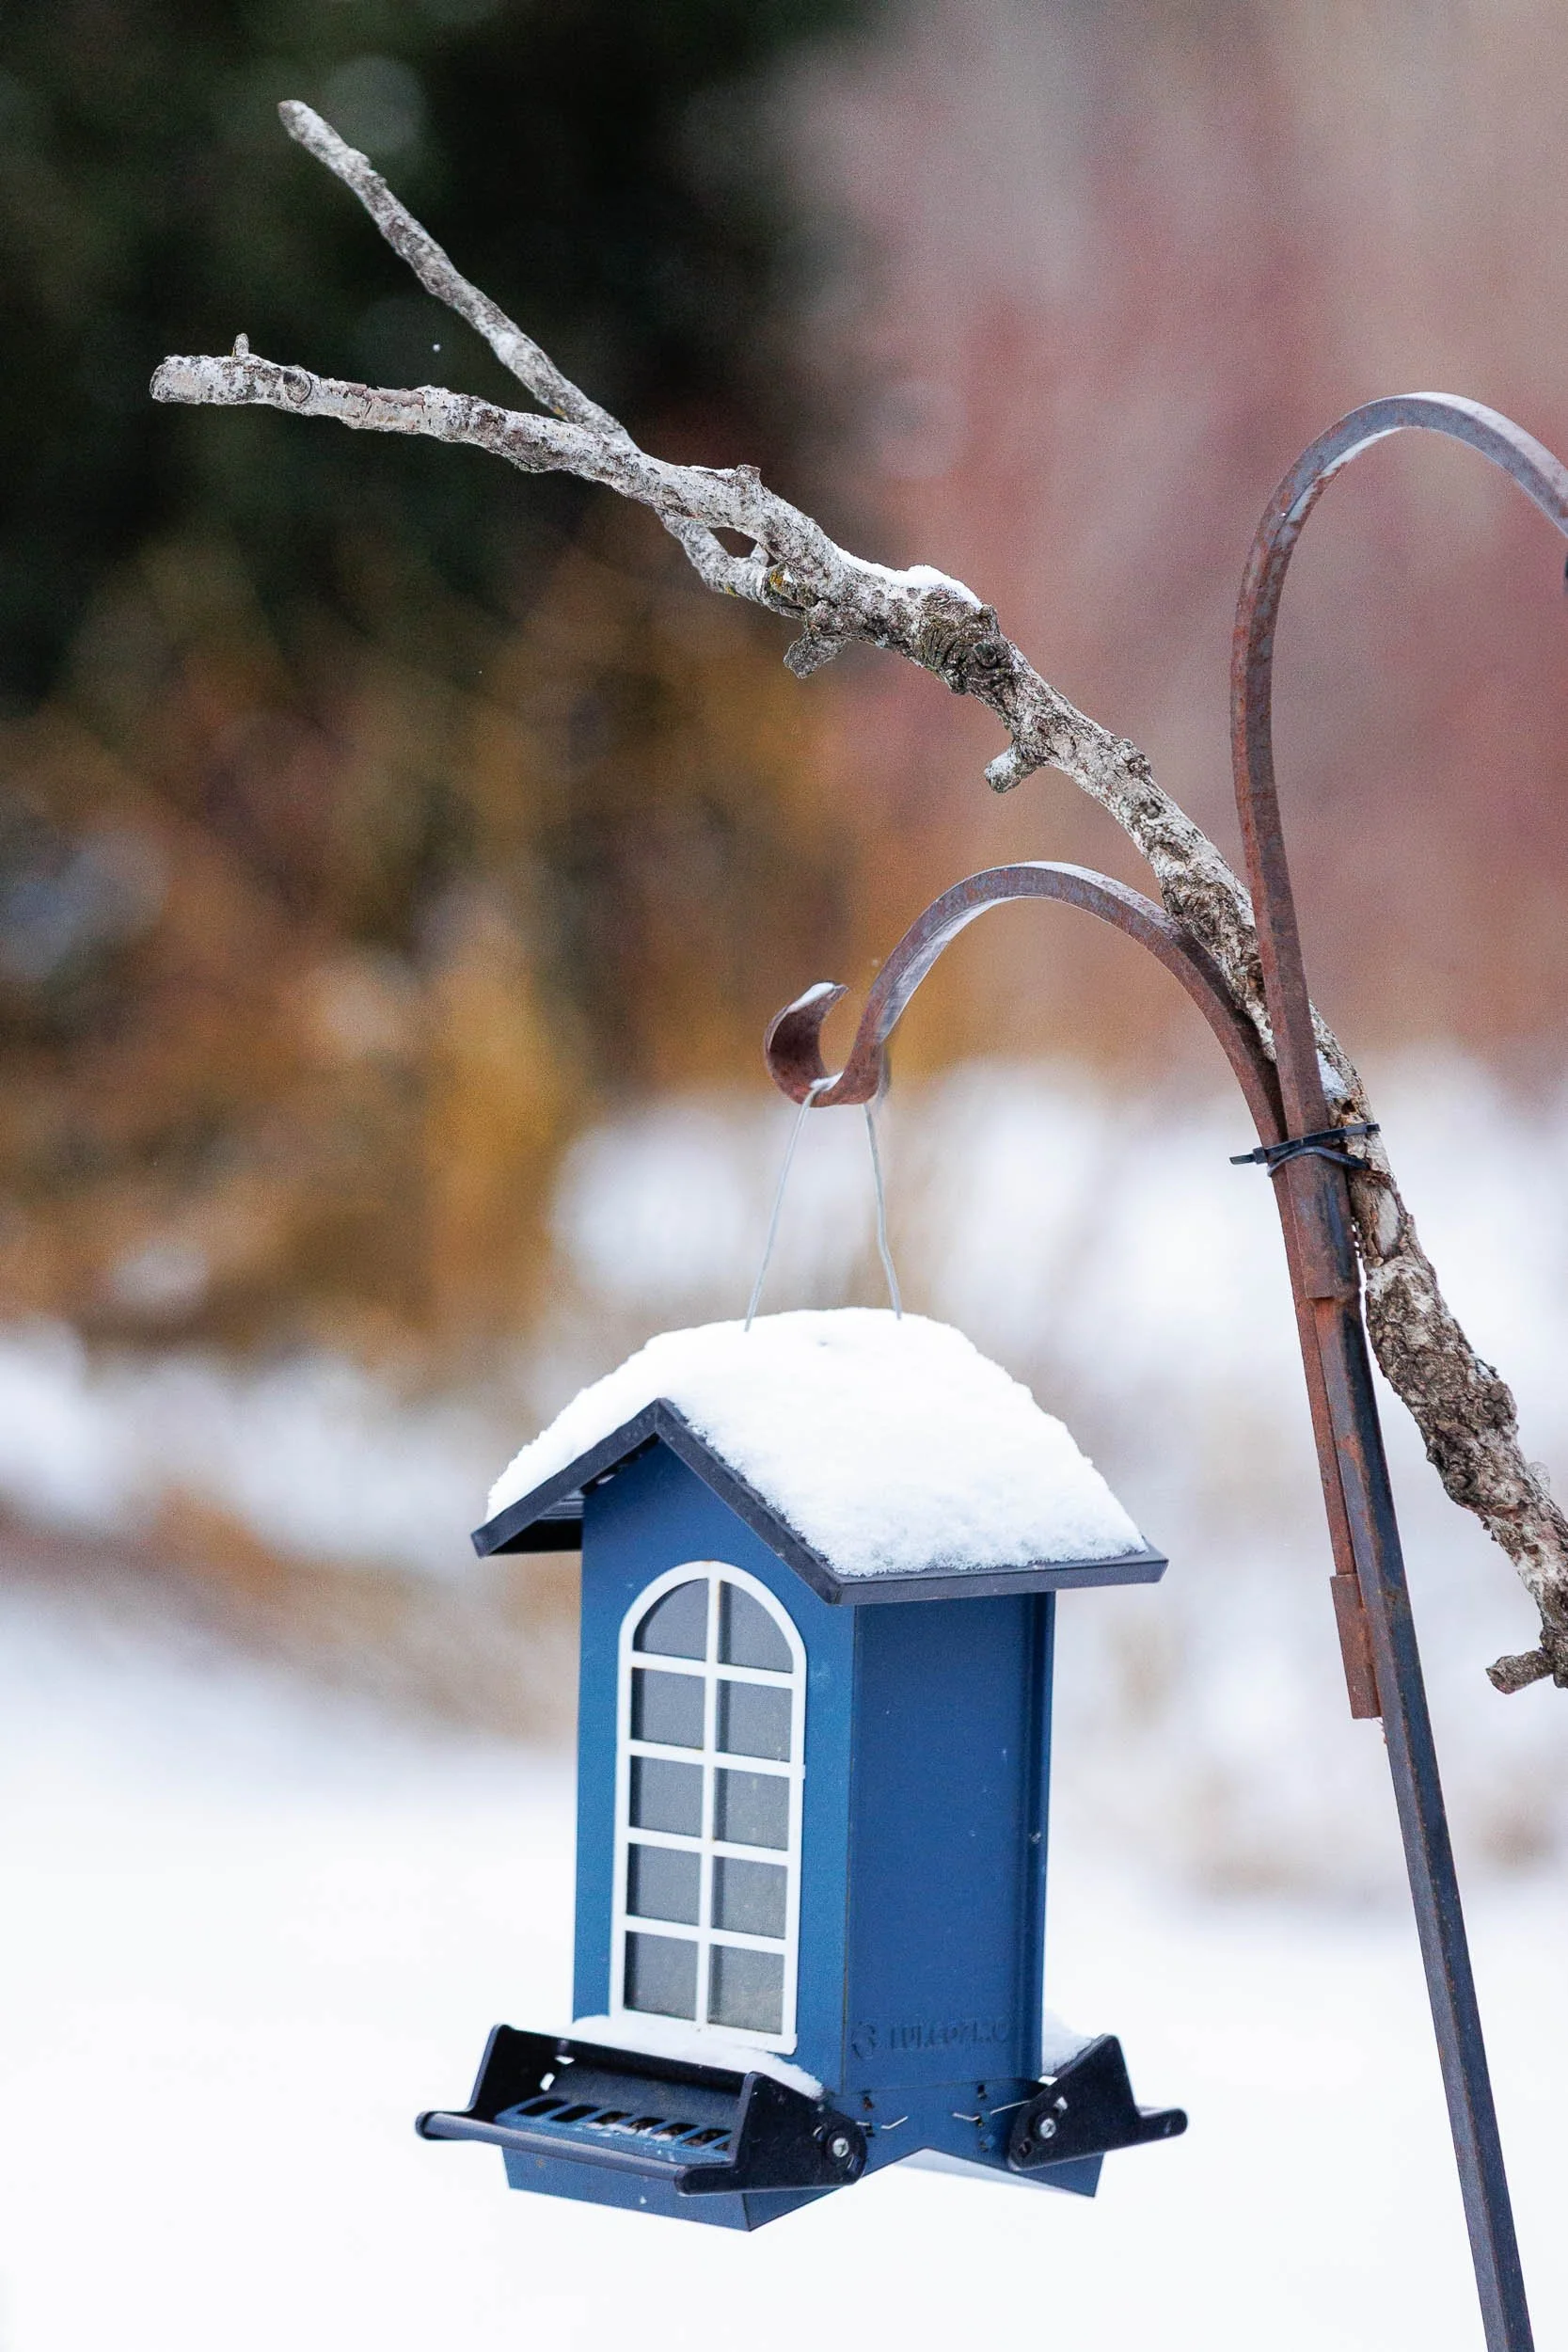
A branch attached near the feeder acts as a natural perch.
Instead of only photographing birds directly on feeders, I position natural perches nearby. Birds will often land briefly before feeding. This creates:
Cleaner compositions
More natural-looking images
Better print-ready photos
I don’t ignore opportunities to photograph while the birds are at the feeder or perched on a shepherd’s hook, etc., but do try to balance those shots with the natural perches.
I also pay attention to background distance. The farther the background is from the perch, the softer and less cluttered the background looks.
One additional note - if possible, try to position your feeders and perches in areas that have natural protection (e.g., shrubs/bushes) from predators like the Cooper’s Hawk pictured below.
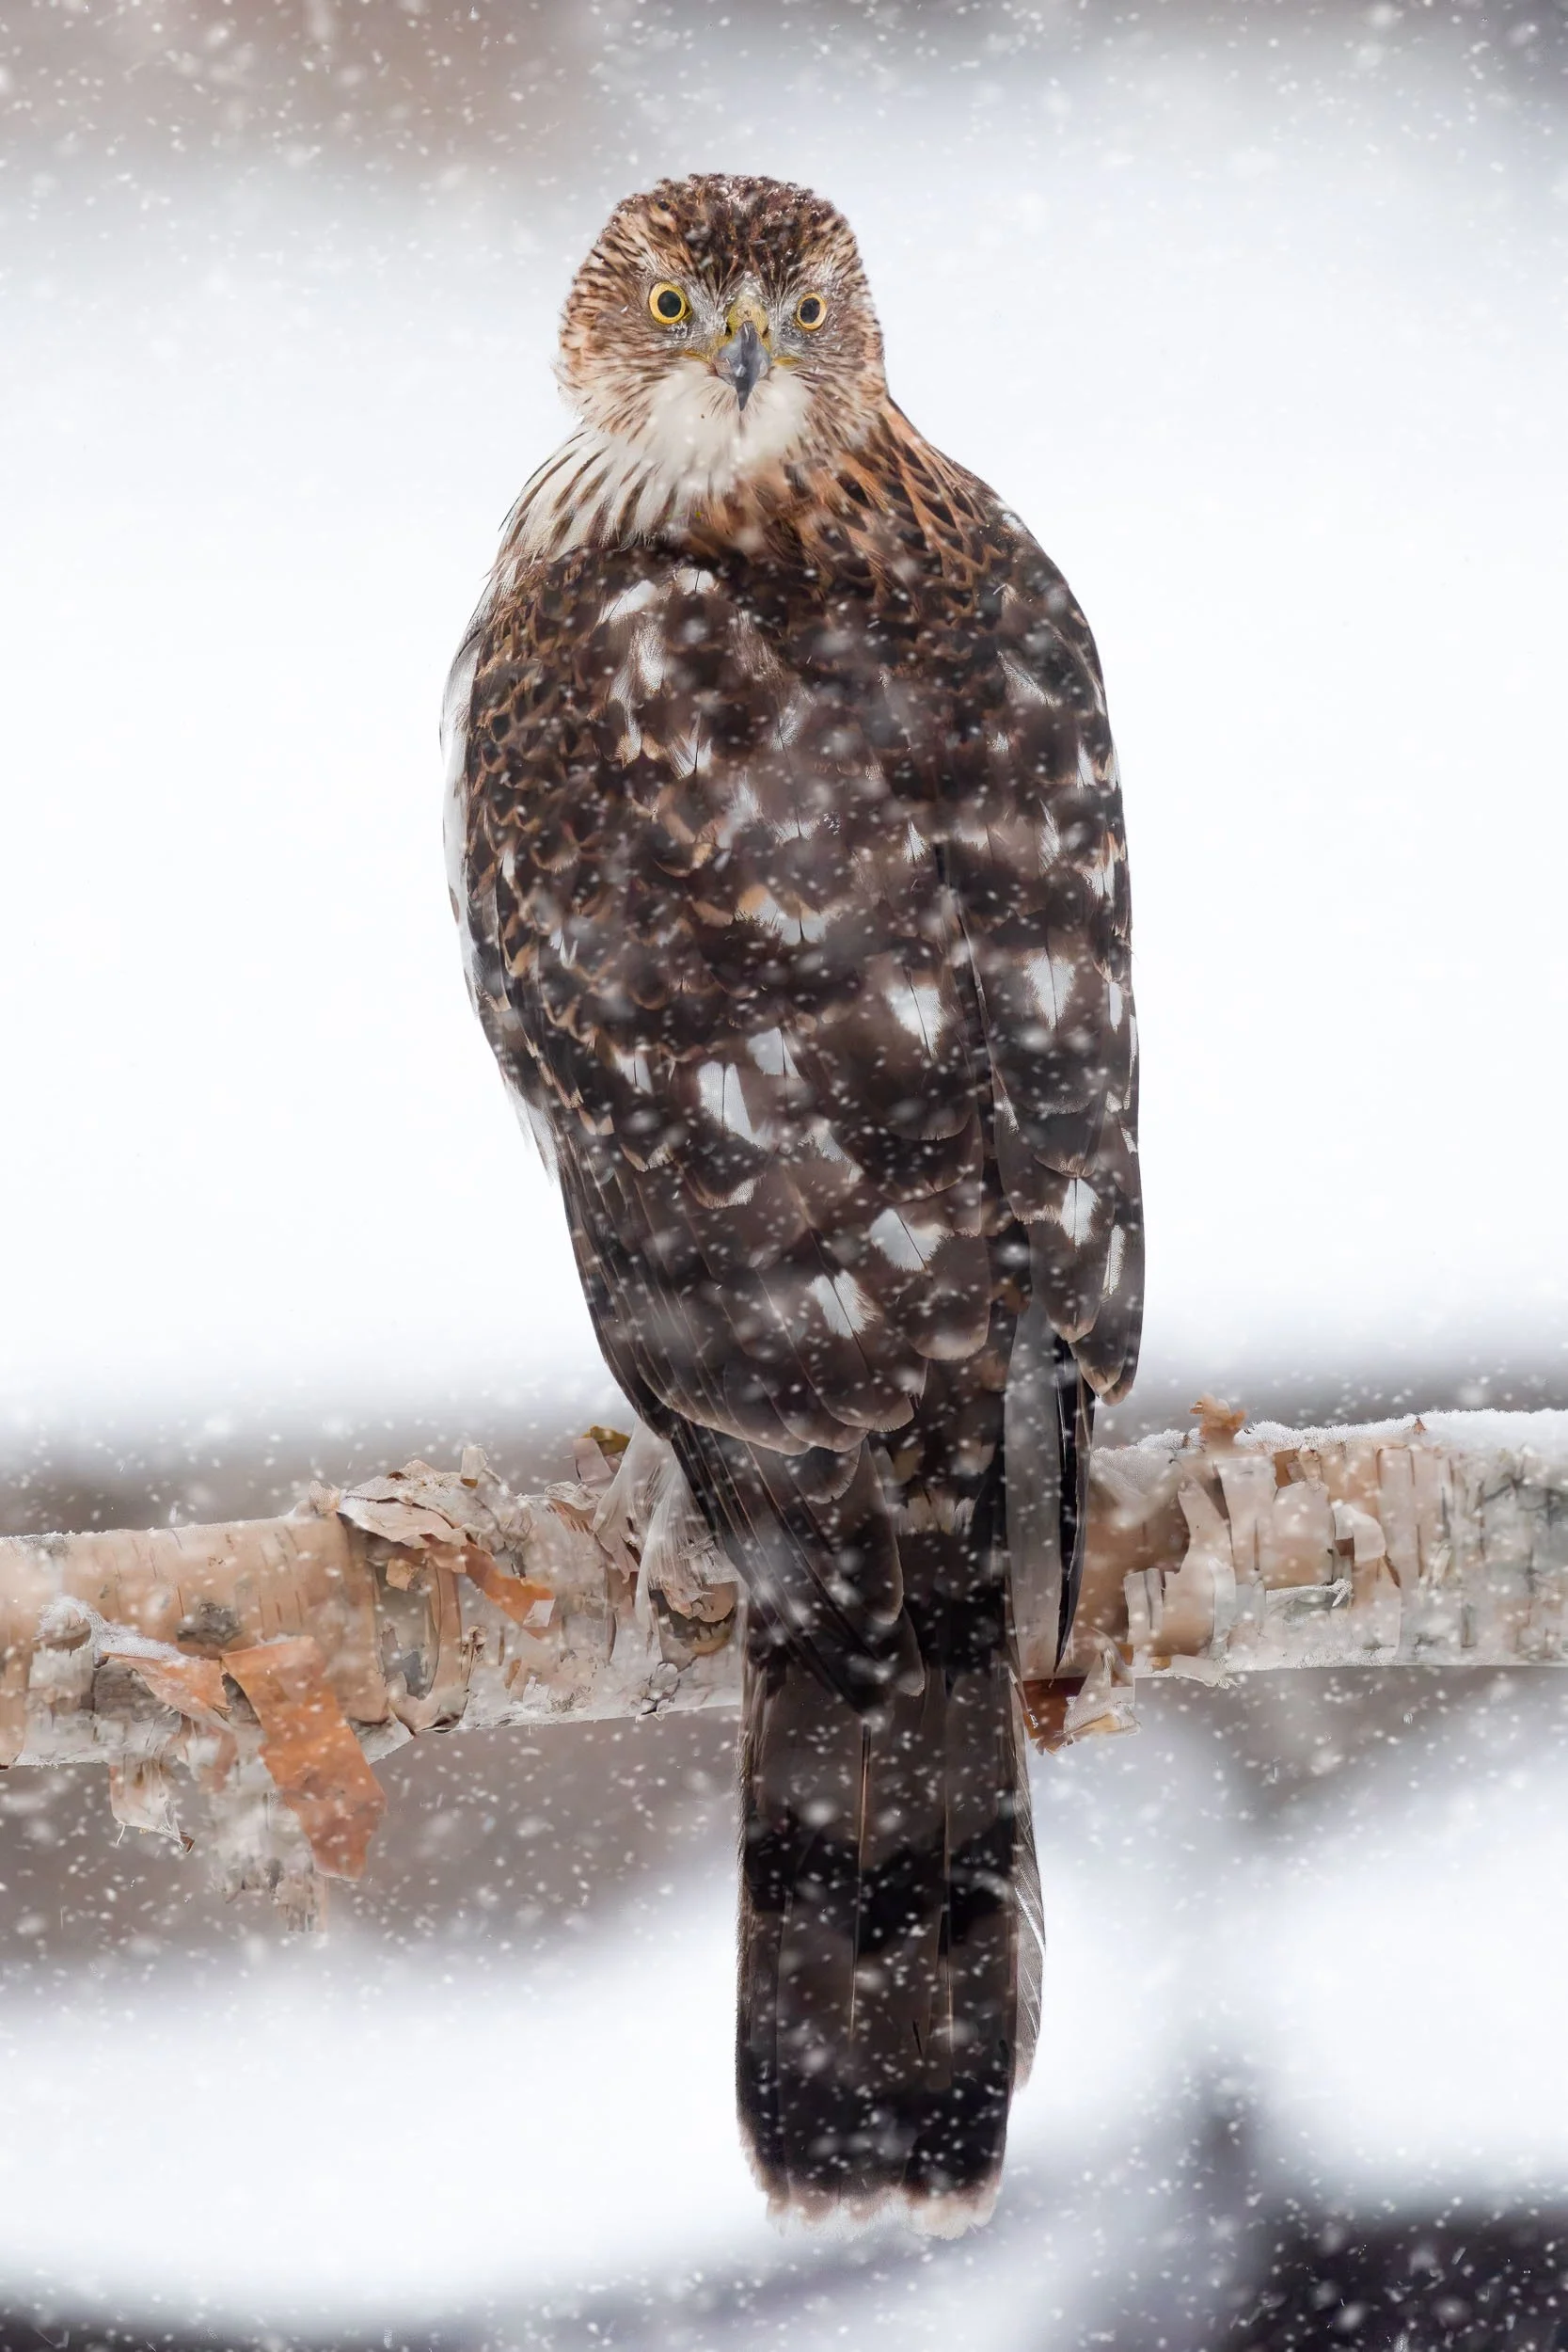
The Cooper’s Hawk is an occasional visitor to the backyard feeders.
Camera Settings I Use
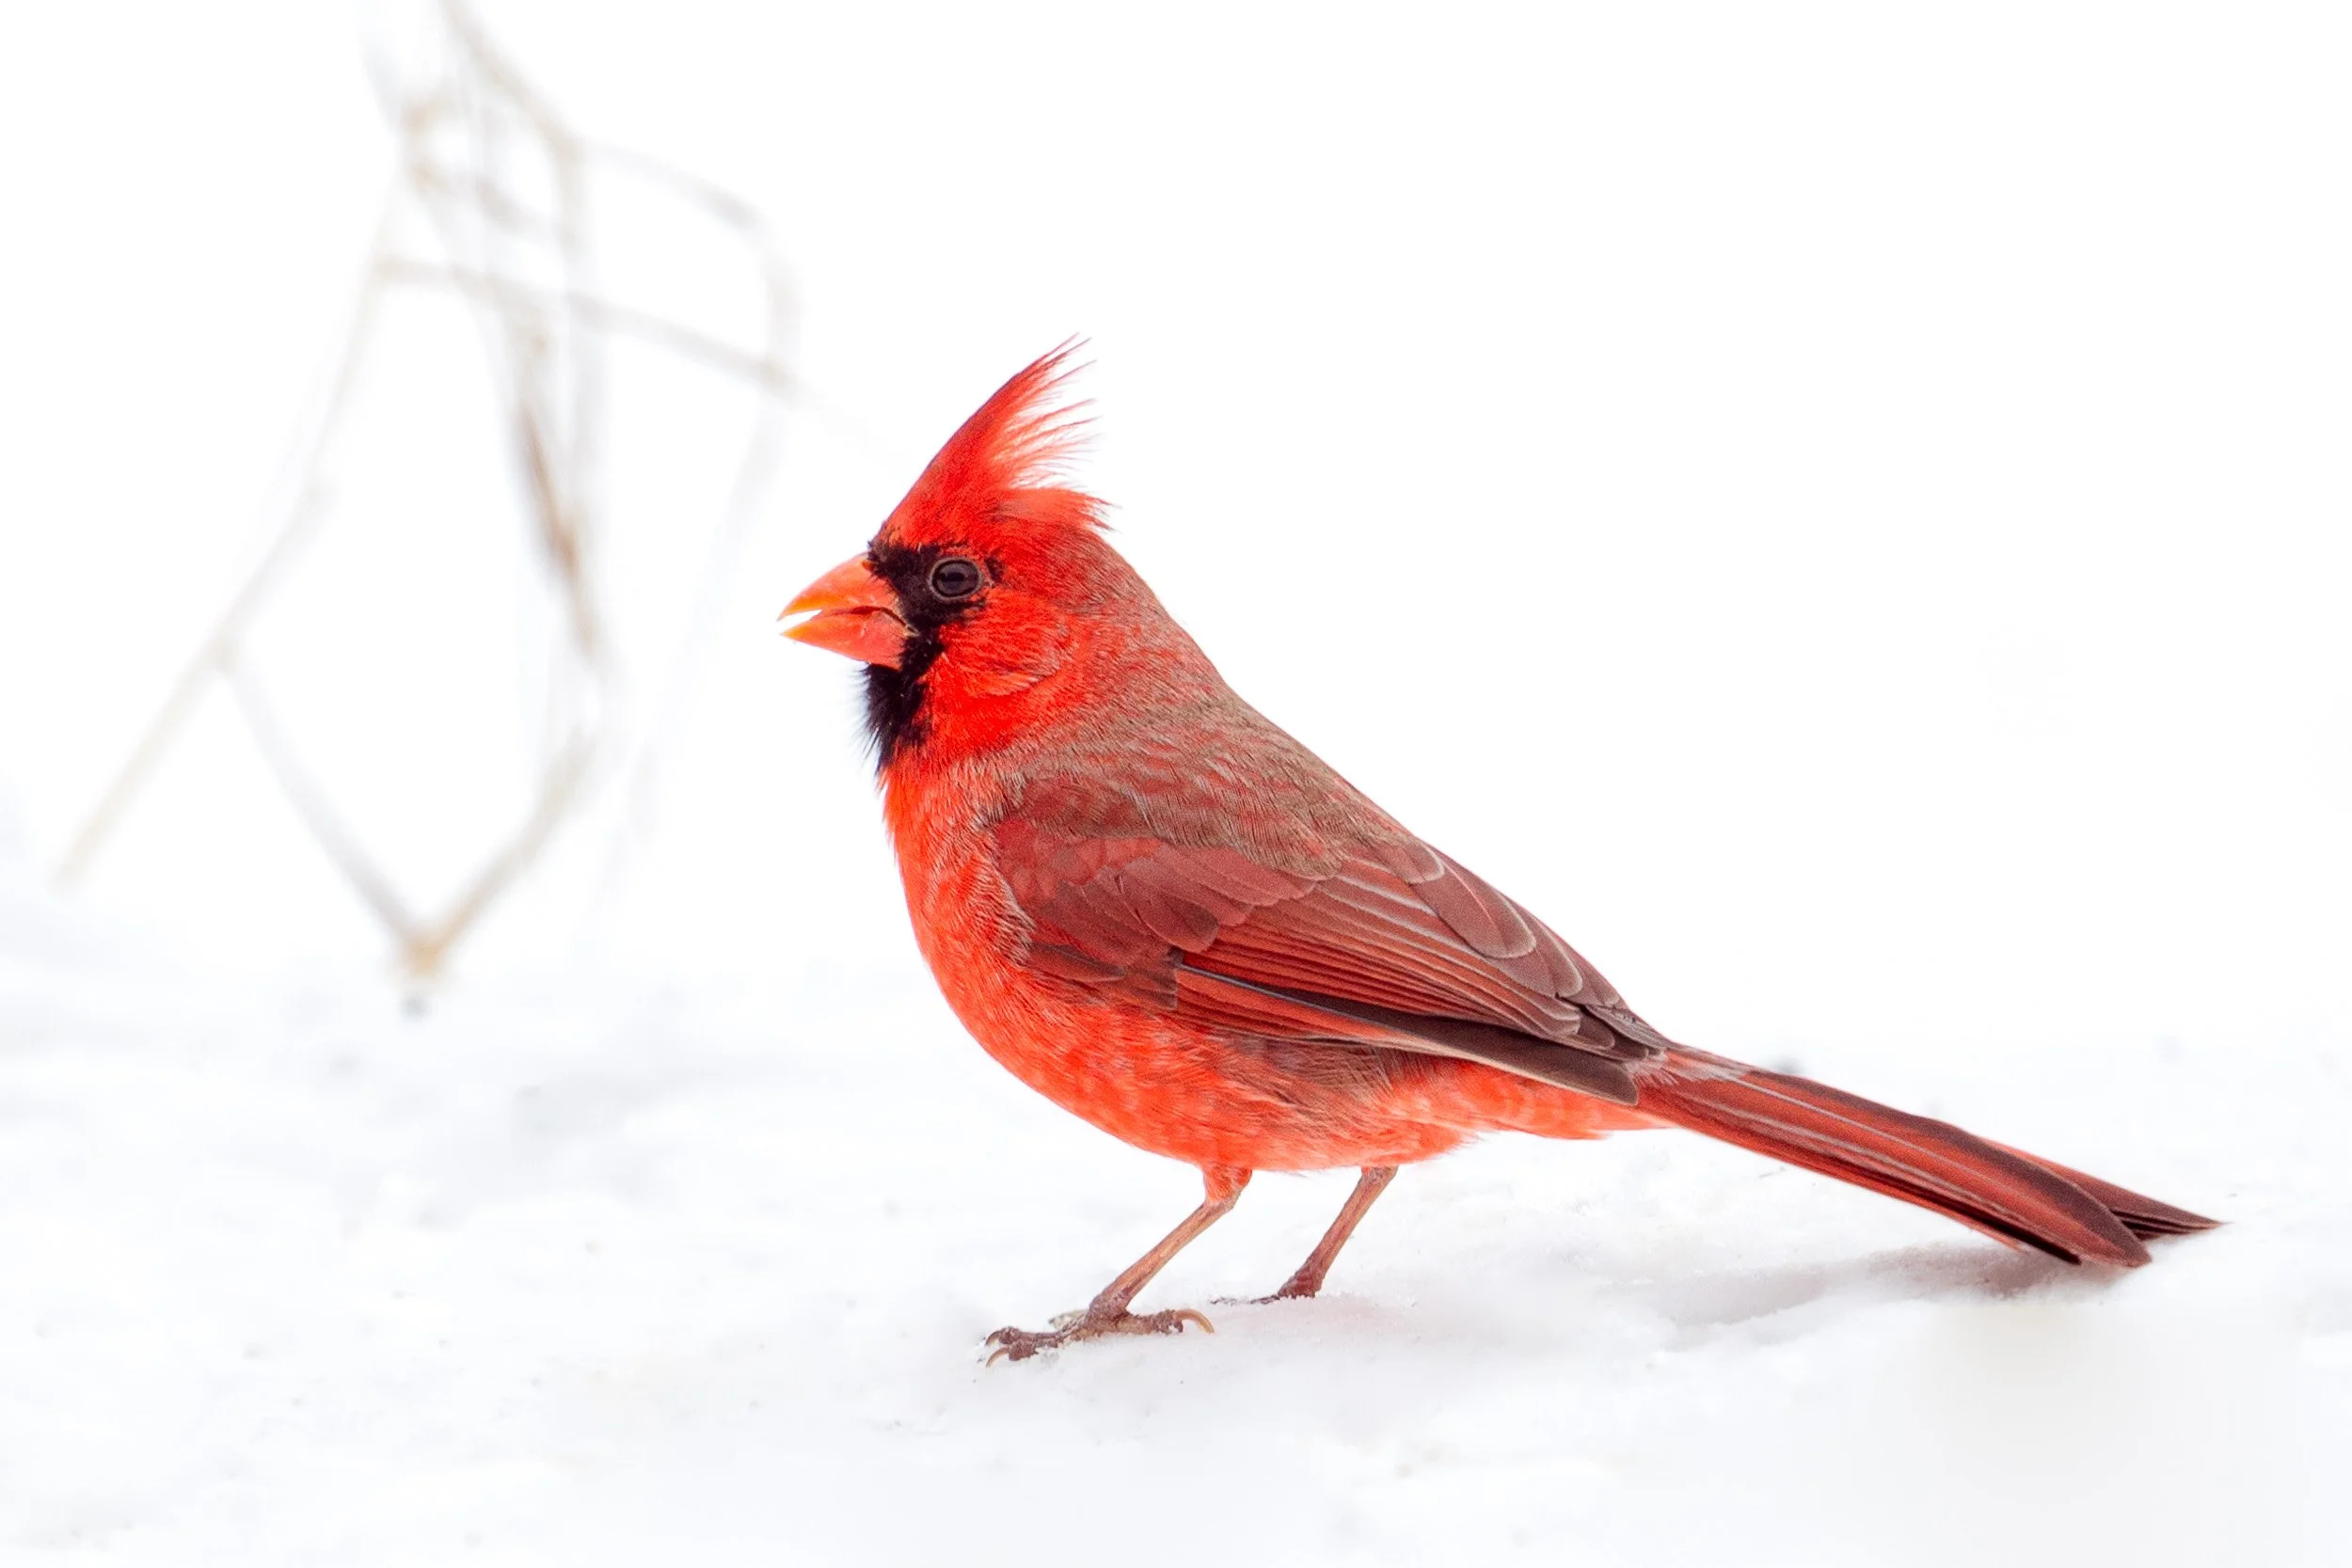
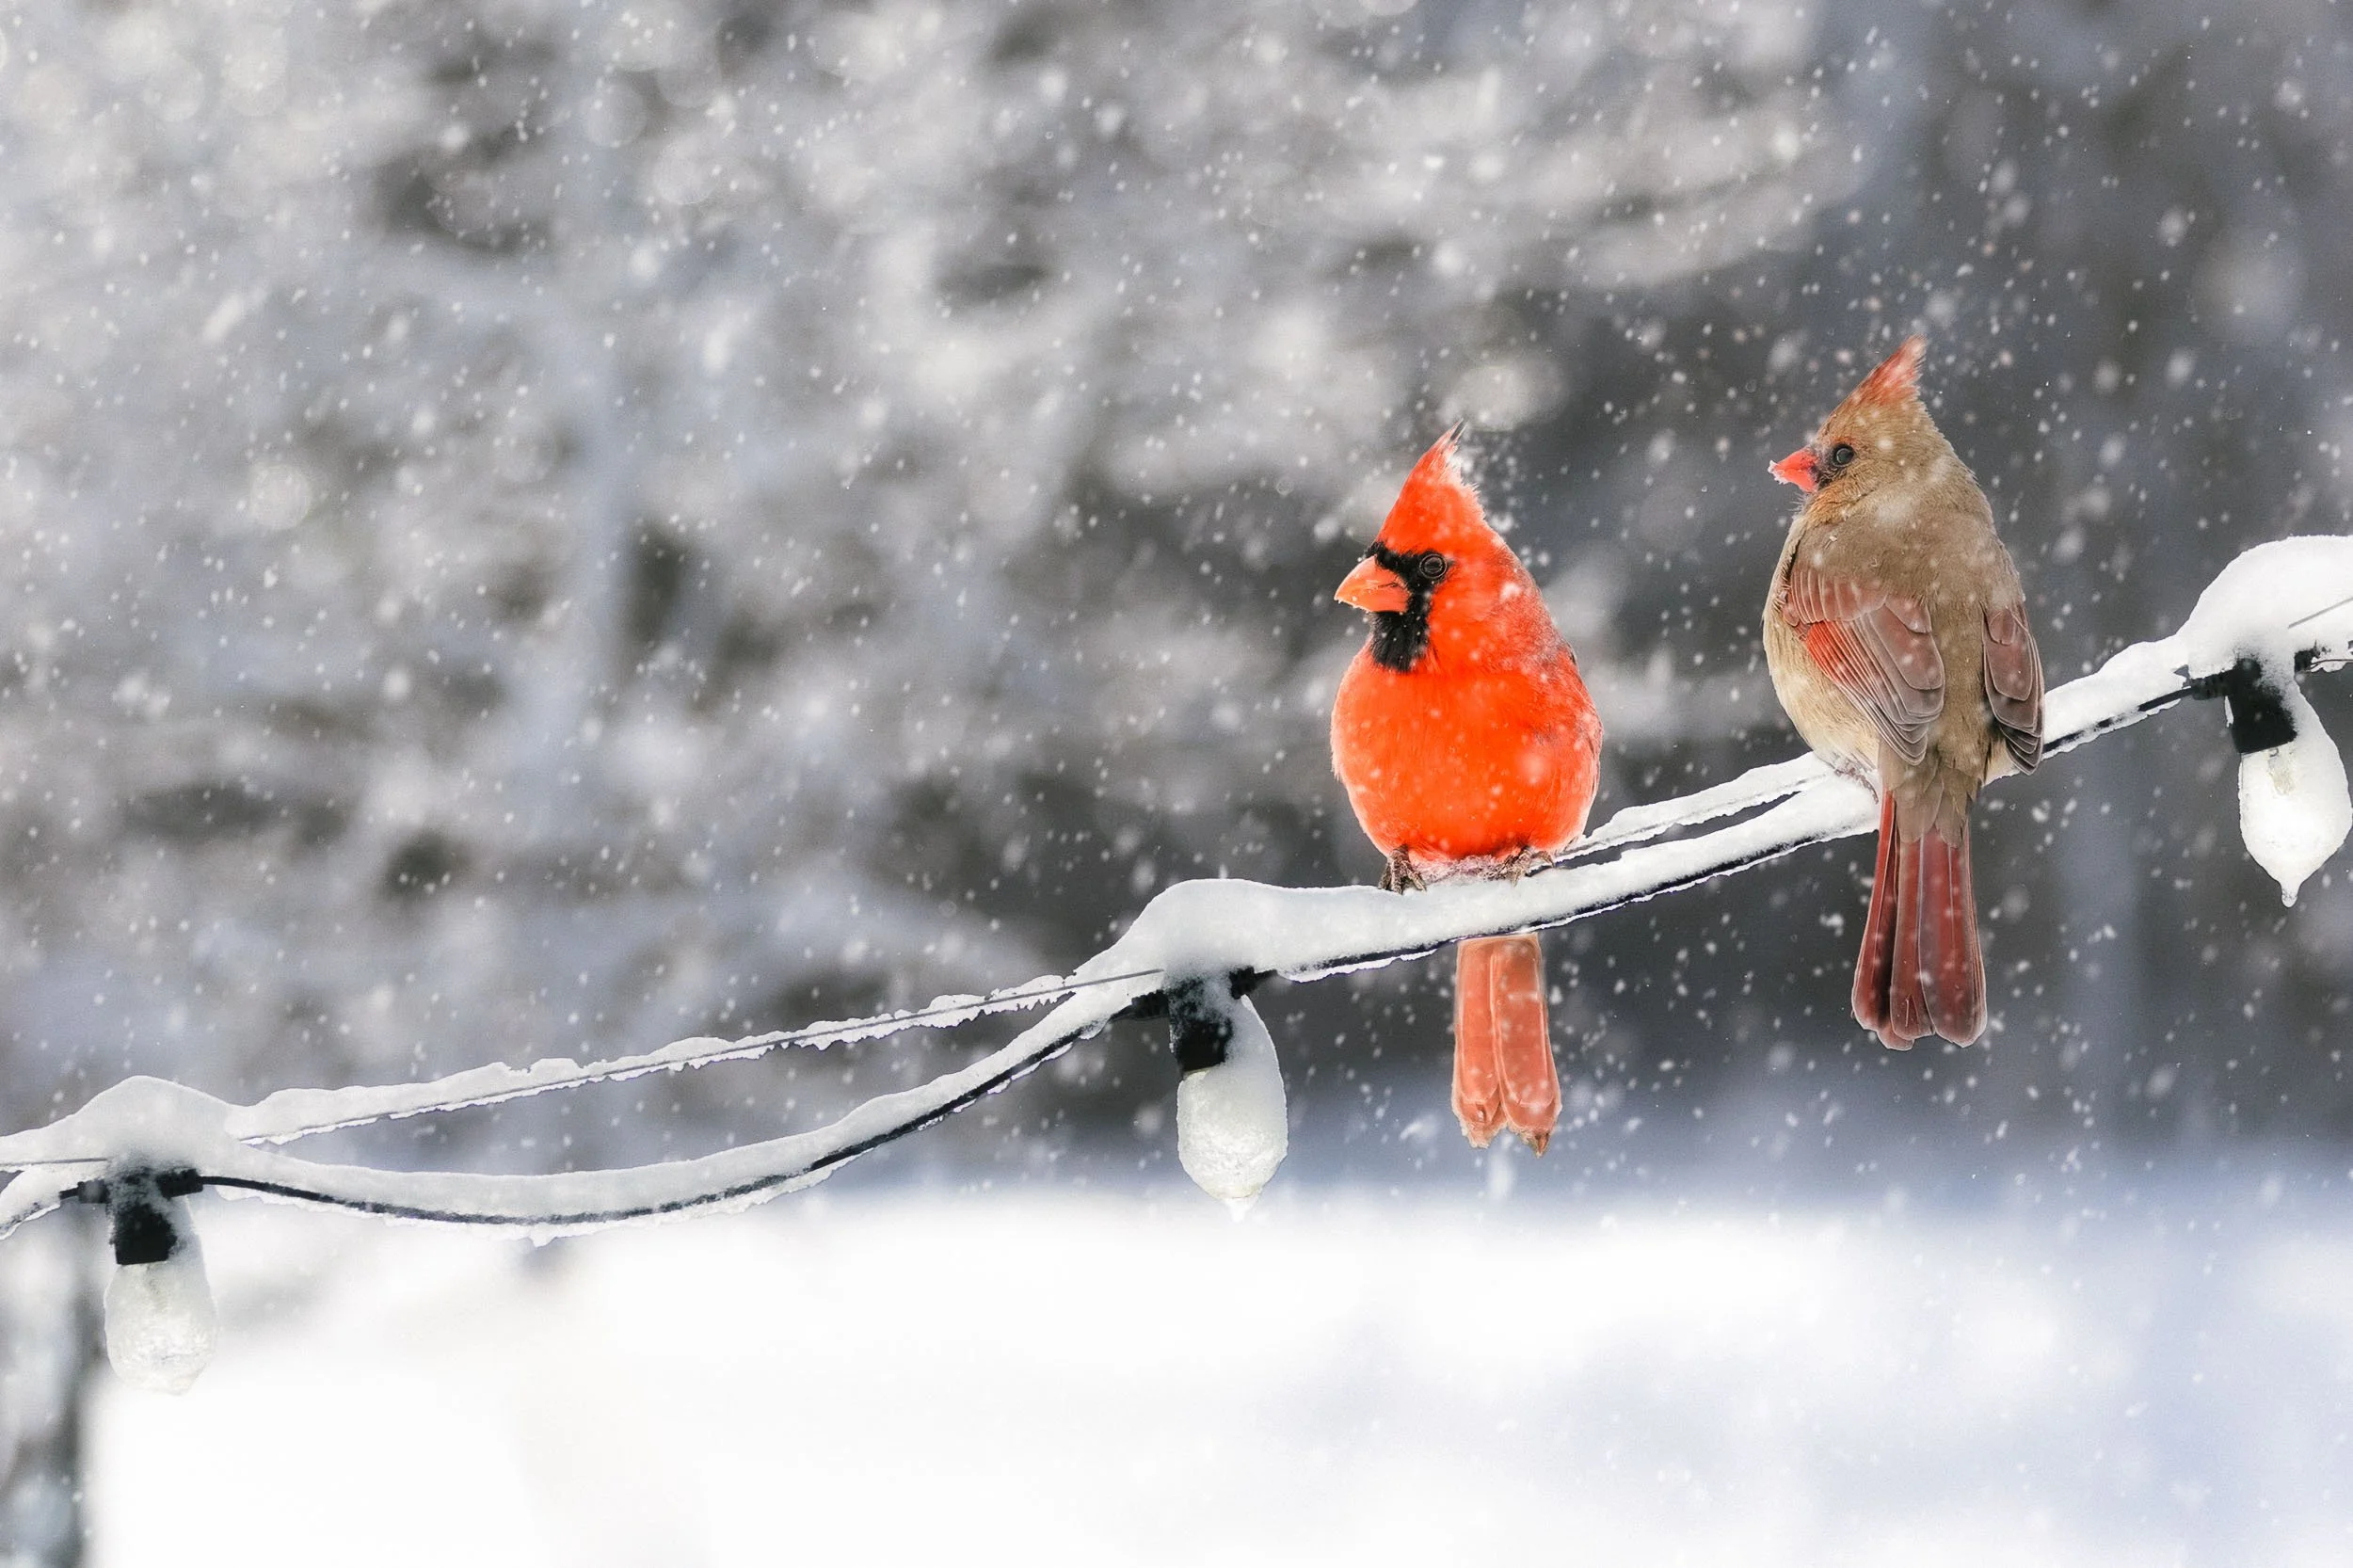
Northern Cardinal
Winter light can be tricky but here are my general starting points:
Shutter Speed: 1/1000 – 1/2500 sec (In most instances, fast enough to freeze wing flicks and subtle movements)
Aperture: f/4 – f/8 (Sharp subject with soft background)
ISO: Adjust as needed based on the scene
I shoot in manual mode, prioritizing shutter speed and increasing ISO as necessary. If I have a patient subject, I often try different combinations of shutter speed, aperture, and ISO to get just the right look.
Field Technique
A few habits make a big difference:
1. Watch the Light
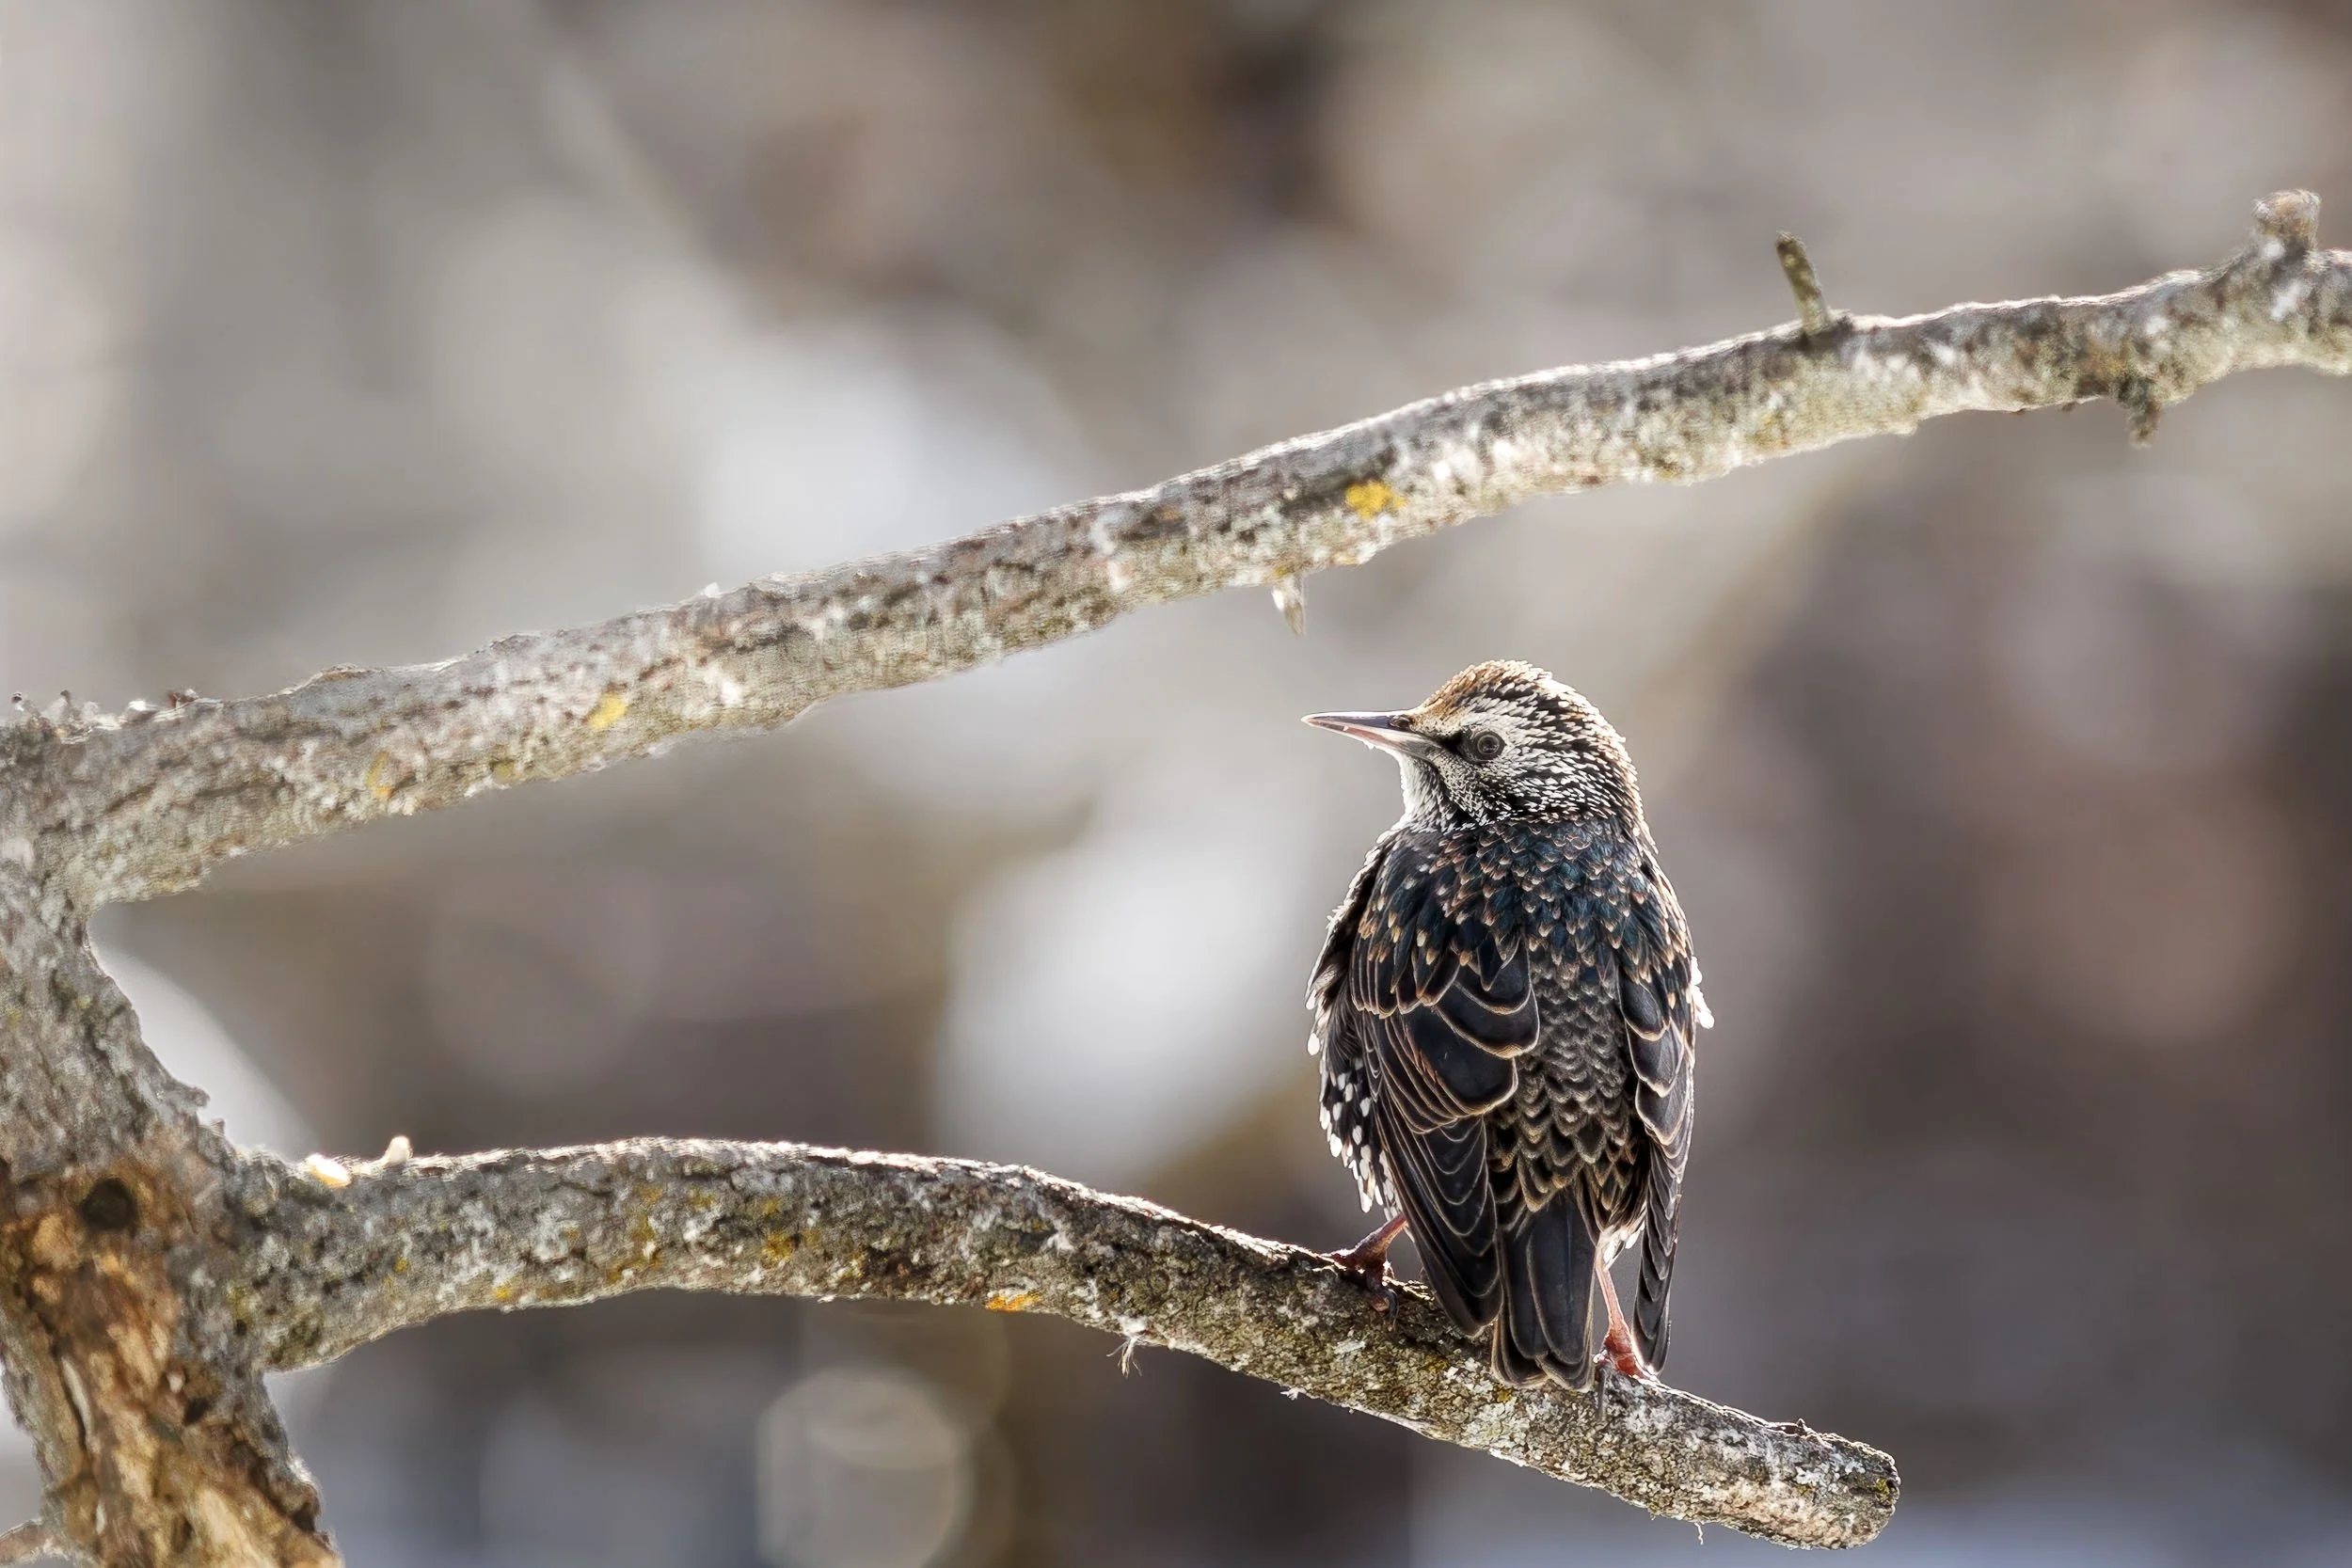
A European Starling
Even in winter, side light creates depth and feather texture. Flat front light often makes birds look lifeless.
2. Wait for Behavior
The best images happen in brief moments:
Head turns
Feather fluffs
Interaction between birds
Patience produces stronger storytelling images.
3. Focus on the Eye
If the eye isn’t sharp, the image doesn’t work. I use back-button focusing and aim for the nearest eye.
My Lightroom Workflow
Most of my editing work happens in Adobe Lightroom Classic. Here’s my basic process:
1. Crop & Composition
I refine framing through intentional cropping while maintaining enough resolution for prints.
2. Basic Adjustments
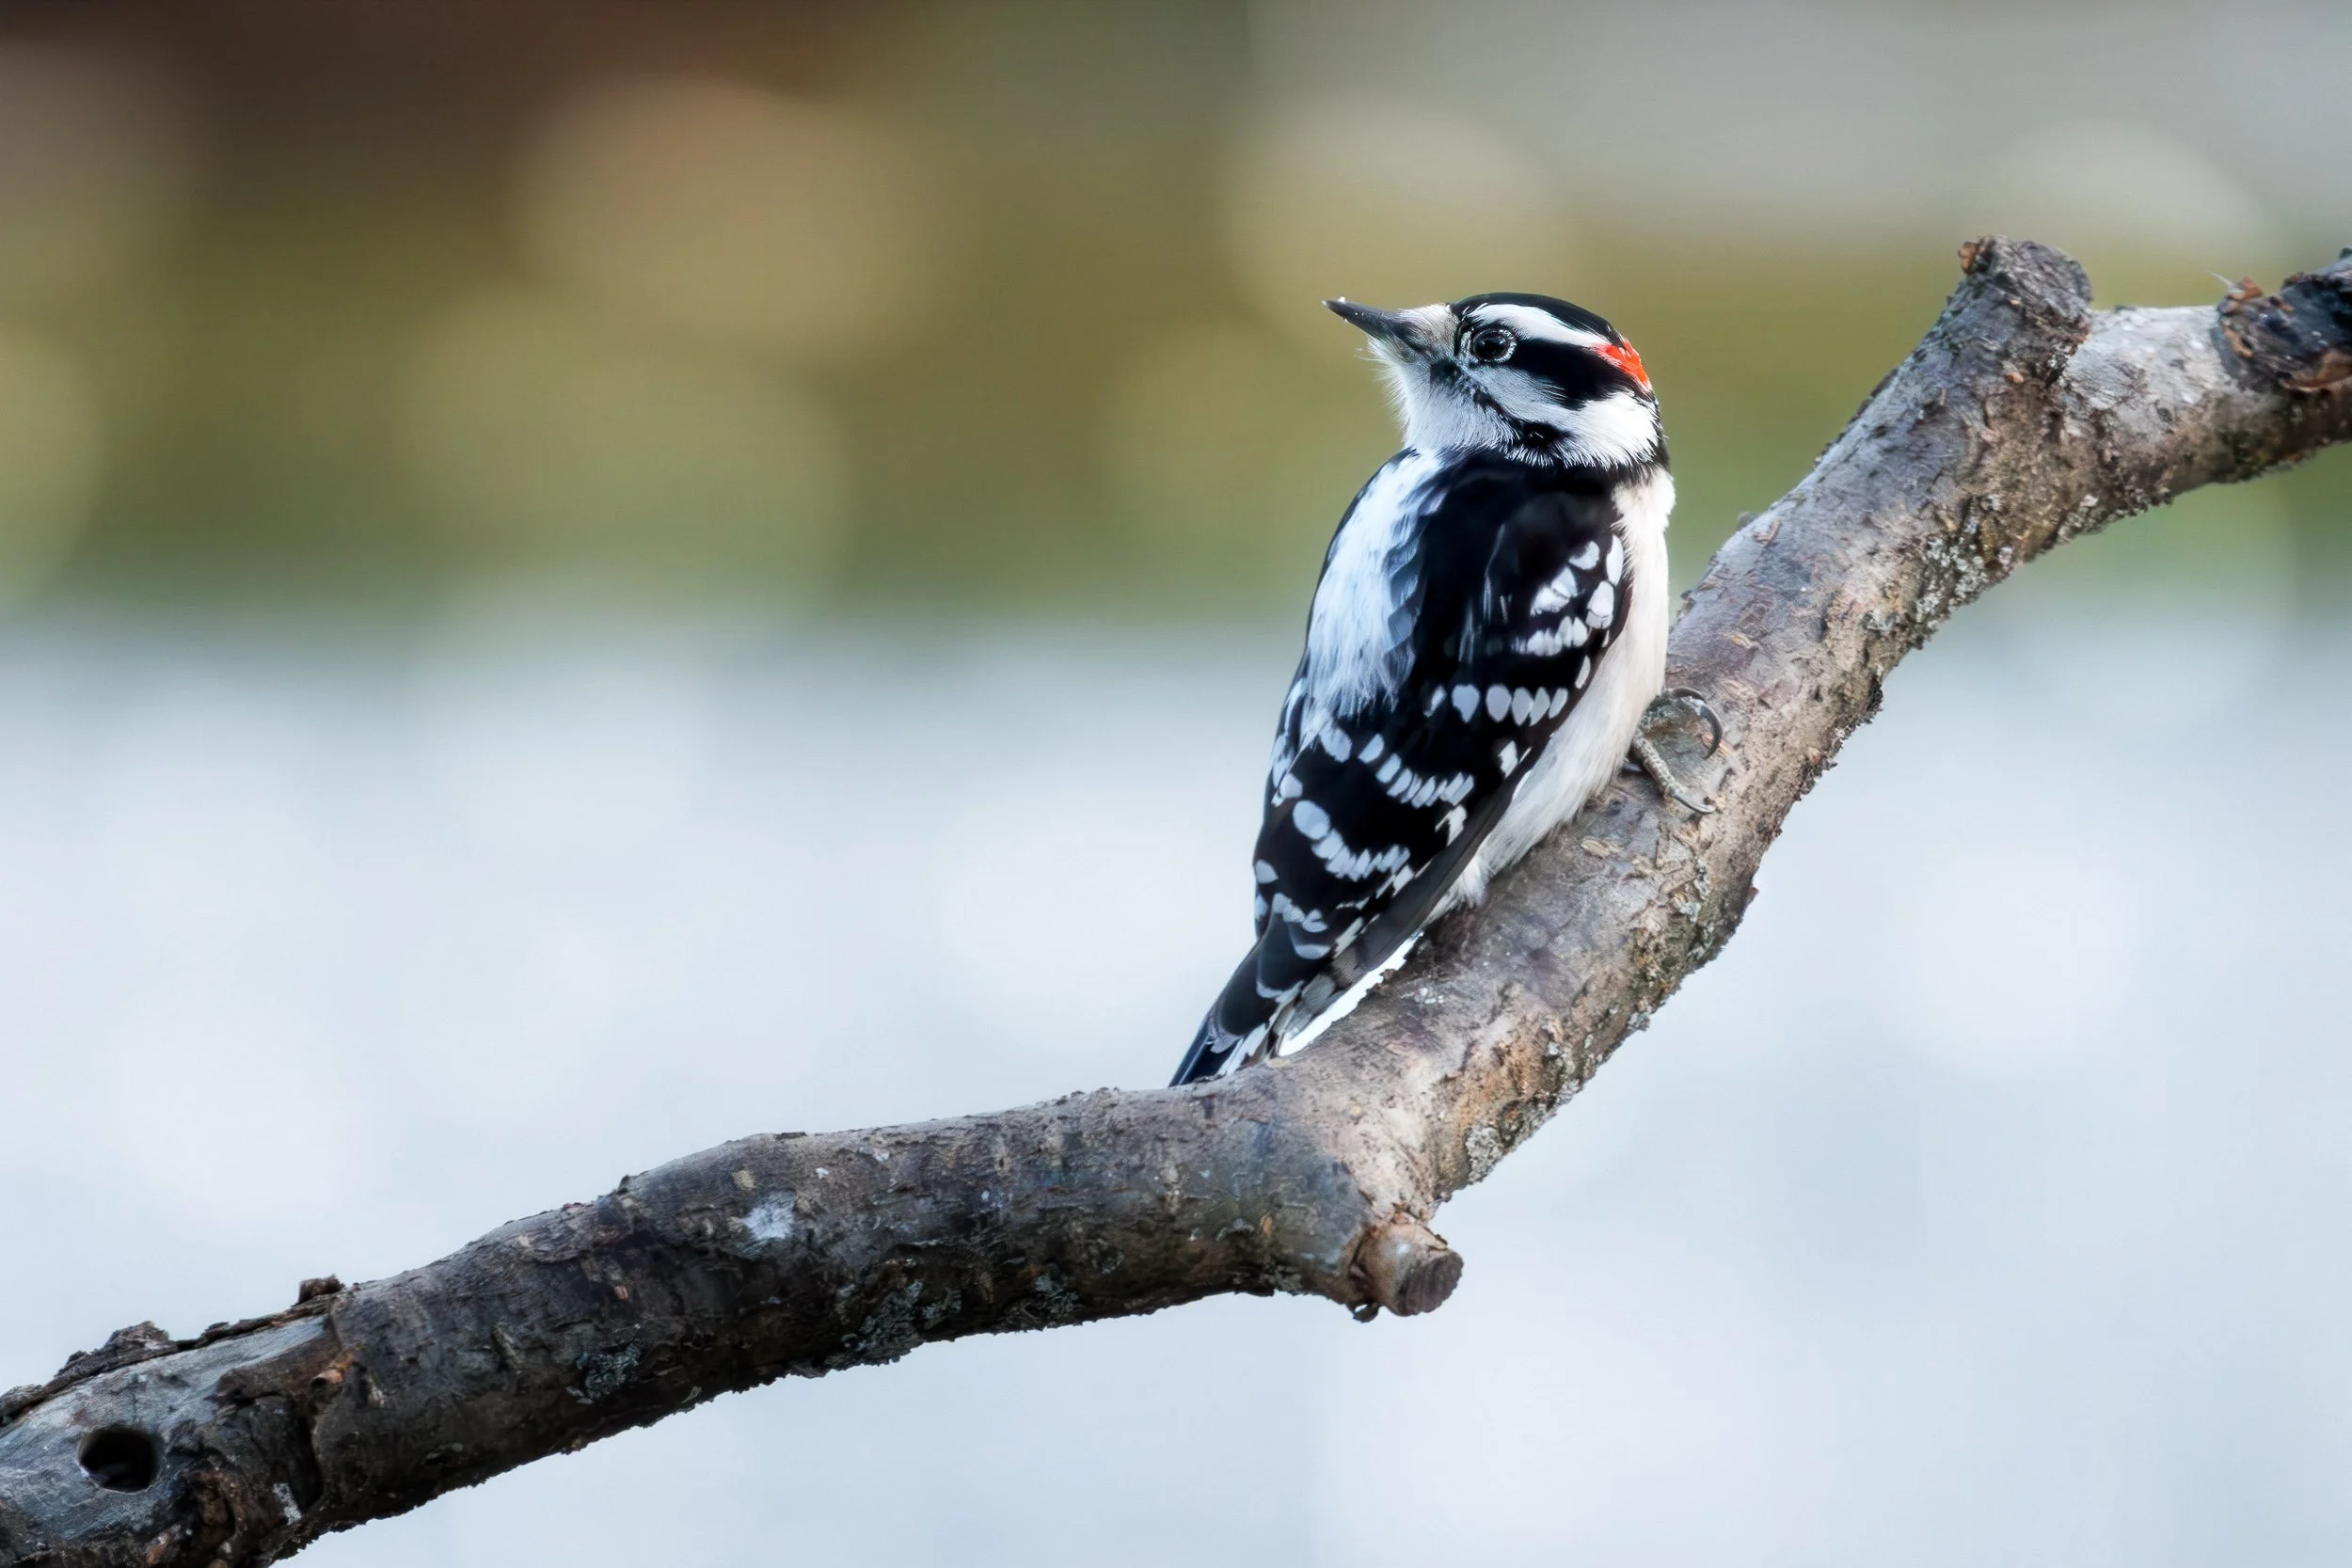
Downy Woodpecker
Slight exposure boost if needed
Contrast and tonal adjustments
White balance correction for snow scenes
3. Subject Masking
I often mask the bird and:
Add a touch of clarity
Increase texture slightly
Apply selective sharpening
Make slight tonal adjustments
4. Noise Reduction
Winter shooting can push ISO higher. I apply noise reduction as necessary and look to preserve feather detail.
The goal is natural, clean, and print-ready. Take care not to over-process.
Why Photograph Common Birds?
You don’t need rare species to create compelling images.
Common backyard birds:
• Offer consistent opportunities to practice your technique
• Allow repetition, refinement, and experiementation
• Make beautiful wall art
• Connect with a broad audience
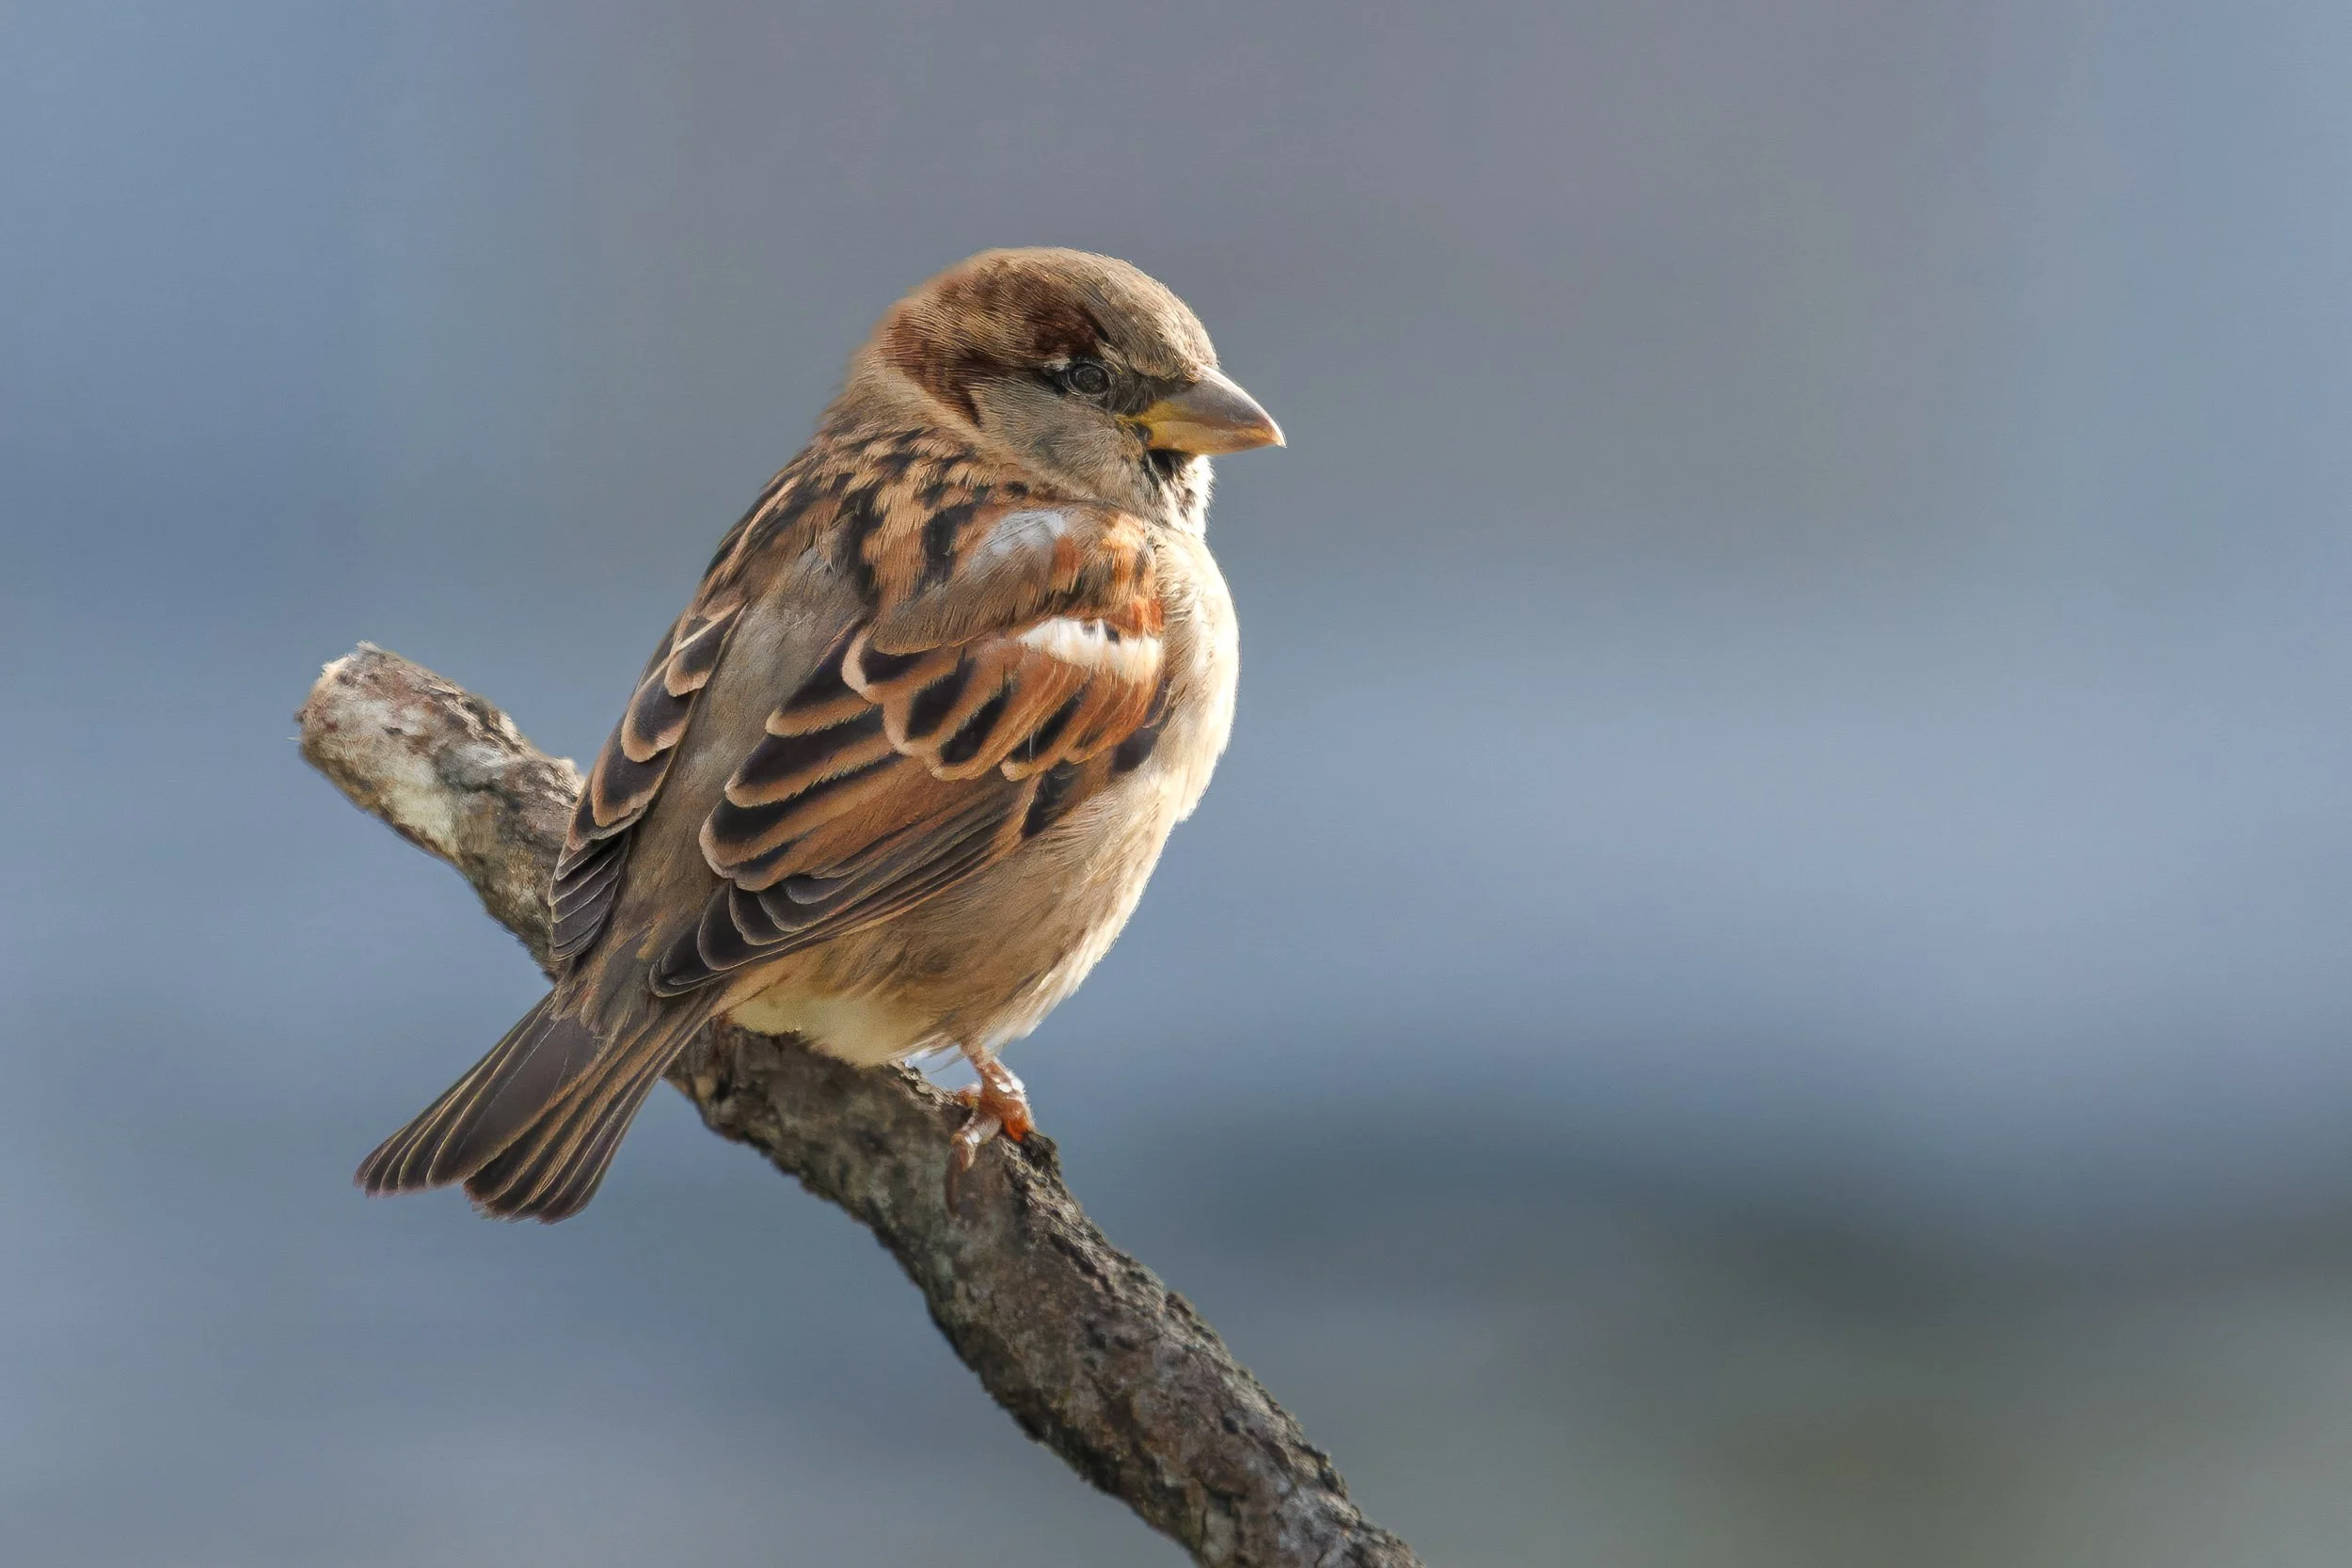
House Sparrow